“`html
Wolf Composite Decking Installation: A Comprehensive Guide
Introduction
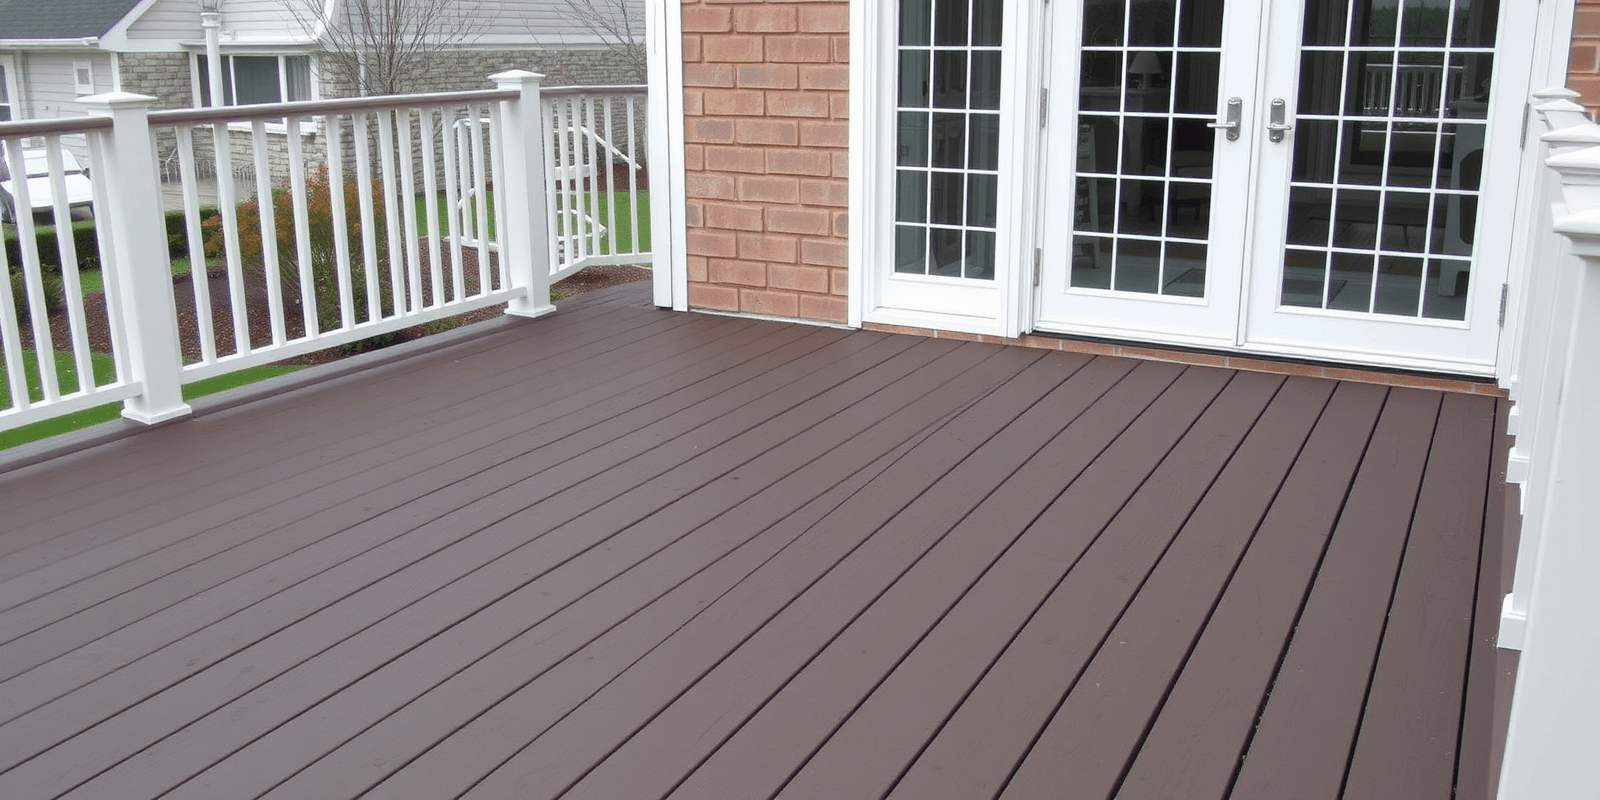
Composite decking has become a popular choice for outdoor living spaces due to its durability, low maintenance, and aesthetic appeal. Wolf Composite Decking is renowned for its quality and innovation in this field. This article will guide you through each phase of the Wolf composite decking installation process, from preparation to completion, ensuring you achieve a professional finish.
Essential Tools for Wolf Composite Decking Installation
To ensure a smooth installation process, it’s crucial to have the right tools at hand. Essential tools include:
- A circular saw or miter saw for cutting the composite boards
- A drill with bits for attaching the decking to the frame
- A level to ensure your deck is even
- Tape measure for precise measurements
- Clamps to hold pieces in place while securing them
- Deck screws specifically designed for composite materials
- A jig saw for cutting intricate shapes if needed
Preparation Steps for Wolf Composite Decking Installation
Proper preparation is key to a successful installation. Follow these steps:
- Site Assessment: Evaluate the site for any obstacles or uneven ground. Ensure the area is clear of debris and vegetation.
- Frame Construction: Build a sturdy frame using pressure-treated lumber, ensuring it is level and square.
- Substructure Preparation: Install joists on top of the frame, spaced according to manufacturer specifications (typically 16 inches on center).
- Surface Preparation: Clean the surface thoroughly and check for any uneven areas that need to be addressed before laying the decking.
Installation Process
The actual installation involves several steps:
- Laying the First Board: Start by laying the first board along the outer edge of the frame, securing it with screws at each joist point.
- Spacing Boards: Use spacers between boards to maintain consistent gaps (usually 1/8 inch) for proper expansion and drainage.
- Cutting and Fitting: Cut boards to fit around obstacles such as posts or corners, ensuring a snug fit without gaps.
- Finishing Touches: Once all boards are laid, install trim and fascia boards to cover the edges and enhance the overall appearance.
Tips for Achieving a Professional Finish
To achieve a professional look, consider these tips:
- Use a chalk line to mark straight lines for cutting and spacing.
- Apply a small amount of silicone caulk in gaps for a clean finish.
- Regularly check the level and adjust as necessary during installation.
- Consult the manufacturer’s instructions for specific guidelines and recommendations.
Conclusion
Installing Wolf Composite Decking requires careful planning, the right tools, and attention to detail. By following these steps and tips, you can create a beautiful and durable outdoor space that will last for years. Remember, patience and precision are key to achieving a professional finish.
“`
This HTML structure provides a comprehensive guide on how to install Wolf Composite Decking, detailing each phase of the process and offering tips for achieving a professional finish. The content is designed to be directly publishable as a blog post, adhering to SEO best practices and providing valuable information to readers interested in installing composite decking.

