“`html
Veranda Composite Decking Instructions
Introduction
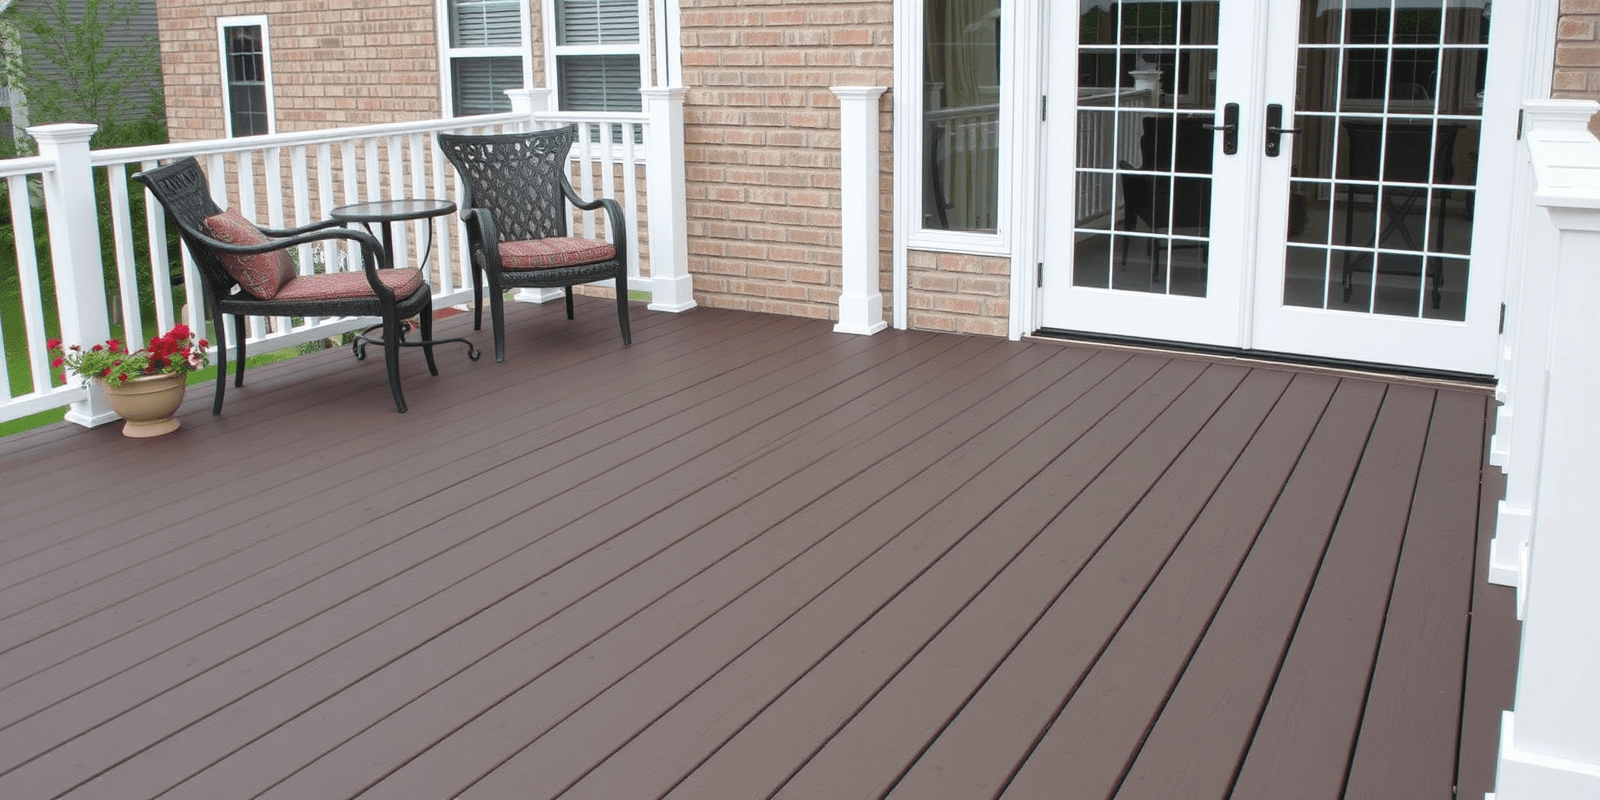
Composite decking has become a popular choice for homeowners looking to enhance their outdoor living spaces due to its durability, low maintenance, and aesthetic appeal. Veranda composite decking is one such option that combines beauty with practicality, offering a variety of colors and textures that can complement any home design. This guide will walk you through the detailed steps required for installing Veranda composite decking, ensuring your project is both successful and enjoyable.
Preparation for Installation
Before beginning the installation process, it’s crucial to prepare the site properly. Start by selecting a level area for your deck, ensuring that the ground is firm and free from debris. Next, gather all necessary tools and materials, including the Veranda composite decking boards, screws, joist hangers, and a drill. It’s also advisable to check the weather forecast and choose a day with favorable conditions for your project. For additional information, refer to the official installation guide provided by Veranda.
Laying Down the Planks
The first step in laying down the planks is to lay out the decking boards according to the desired pattern. Typically, this involves starting at one end of the deck and working your way across. Use a chalk line to mark straight lines if needed. Ensure that the boards are spaced correctly to allow for expansion and contraction due to temperature changes. For Veranda composite decking, a gap of about 1/8 inch between each board is recommended. This spacing is essential to maintain the integrity and longevity of the deck.
Securing the Decking Boards
To secure the decking boards, use Veranda’s recommended screws or hidden fasteners. If using screws, drill pilot holes to prevent splitting. Place the screws at least 1 inch away from the edge of the board and space them approximately every 16 inches along the length of the board. Hidden fasteners can be inserted into pre-drilled slots along the edges of the boards, which are then slid into place on the underlying joists. Both methods ensure that the boards remain securely attached while minimizing visible hardware.
Finishing Touches
Once the decking boards are installed, it’s time to add the finishing touches. Install railing systems and trim pieces as specified by the manufacturer. Additionally, consider applying a sealer or stain to protect the deck from the elements and enhance its appearance. Regular maintenance, such as cleaning and occasional reapplication of sealant, will help prolong the life of your Veranda composite deck. For more details on maintenance, consult the maintenance guide.
Conclusion
Installing Veranda composite decking is a rewarding project that can significantly improve your outdoor living experience. By following these detailed instructions, you can ensure that your deck not only looks great but also stands the test of time. Remember to plan carefully, use high-quality materials, and follow the manufacturer’s guidelines closely for best results. With proper care, your new Veranda composite deck will provide years of enjoyment.
“`

