“`html
Utube Composite Decking Using T-Clips: A Comprehensive Guide
Introduction
Composite decking has become a popular choice for homeowners due to its durability, low maintenance, and aesthetic appeal. One key component in the installation of composite decking is the use of T-clips, which help secure the boards to the substructure while allowing for expansion and contraction. In this guide, we will explore the detailed installation process of composite decking using T-clips, along with tips for efficiency and best practices.
Understanding T-Clips
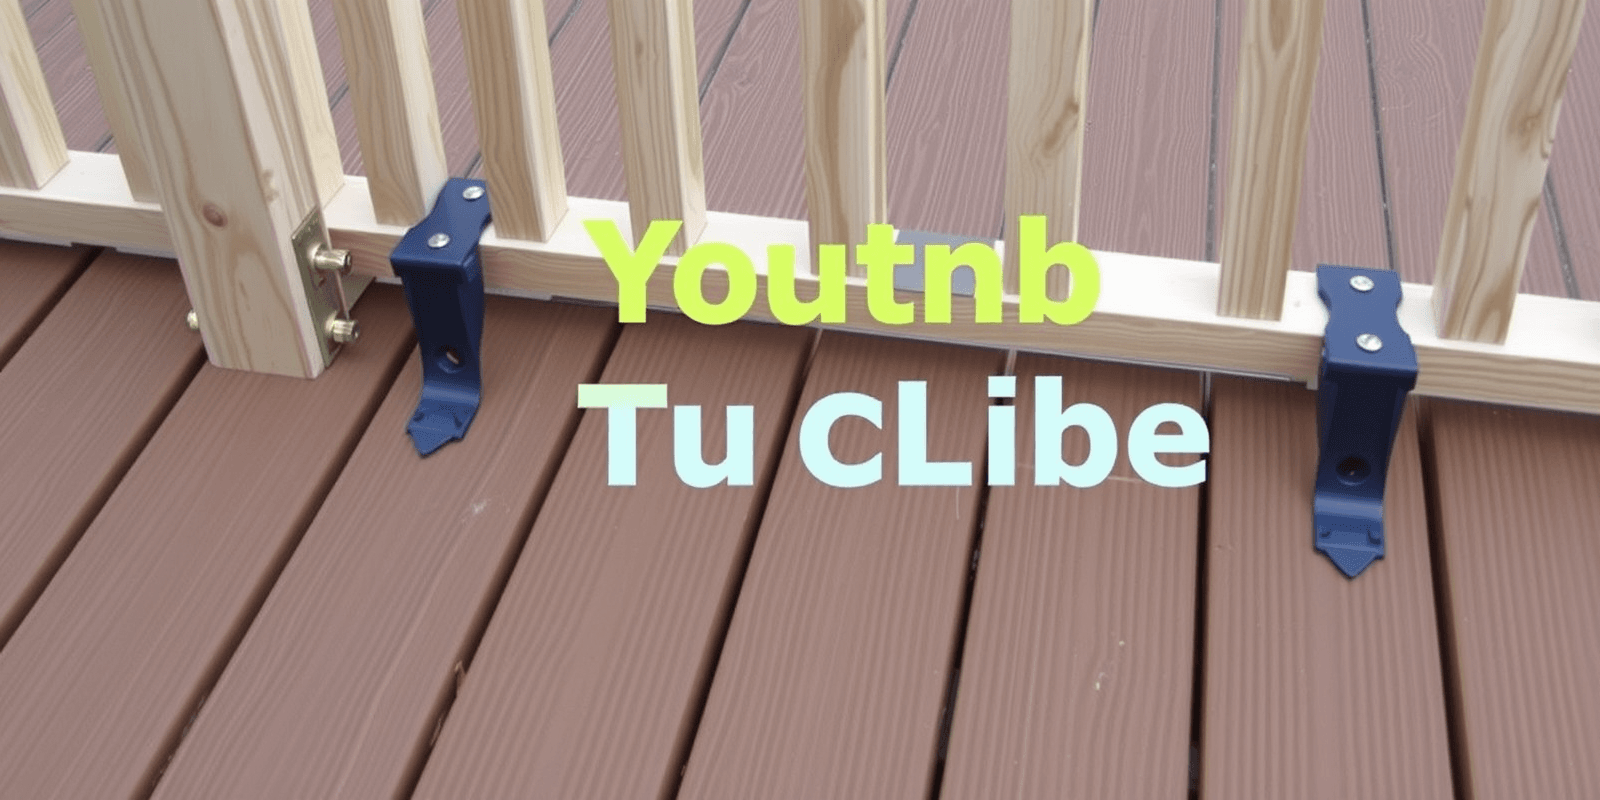
T-clips are essential components in composite decking installations. They are designed to hold the composite boards in place while accommodating the natural movement of the material. These clips are typically made from durable materials like galvanized steel or plastic, ensuring longevity and resistance to weather conditions.
Preparation for Installation
Before starting the installation process, it’s crucial to prepare your deck structure properly. Ensure that your joists are level and spaced correctly according to the manufacturer’s specifications. This will provide a solid foundation for your composite decking. Additionally, it’s important to clean and dry the surface thoroughly to prevent any moisture-related issues later on.
The Installation Process
- Measure and Mark: Measure the distance between the joists and mark where each T-clip will be placed. Typically, clips are spaced about 16 inches apart.
- Attach Clips: Secure the T-clips to the joists using screws. Ensure they are firmly attached but not over-tightened, as this can cause warping.
- Install Deck Boards: Place the first board at one end of the deck and align it with the clips. Use a rubber mallet to gently tap the board into place if necessary.
- Secure Boards: Slide each board onto the clips, ensuring they fit snugly. For the final board, you may need to cut it to size or use special end clips depending on the design.
Tips for Efficiency and Best Practices
- Use a Spacer: To maintain consistent gaps between boards, use a spacer tool during installation. This ensures proper drainage and reduces the risk of mold and mildew.
- Check Alignment: Regularly check that each board is aligned properly. Use a level to ensure evenness across the entire deck.
- Maintain Consistency: Keep the spacing between T-clips consistent to avoid uneven board placement. This will enhance the overall appearance and structural integrity of your deck.
Conclusion
Installing composite decking using T-clips is a meticulous process that requires attention to detail and adherence to best practices. By following the steps outlined above and incorporating the tips provided, you can ensure a successful and long-lasting installation. Remember, the quality of your work will not only impact the look of your deck but also its functionality and durability.
References
For more detailed information on composite decking installation, refer to the following resources:
“`
This HTML document provides a comprehensive guide on installing composite decking using T-clips, complete with preparation steps, the installation process, tips for efficiency, and best practices. It includes structured sections and references to credible sources for further reading.

