“`html
Ultrashield Composite Decking Installation: A Comprehensive Guide
Introduction
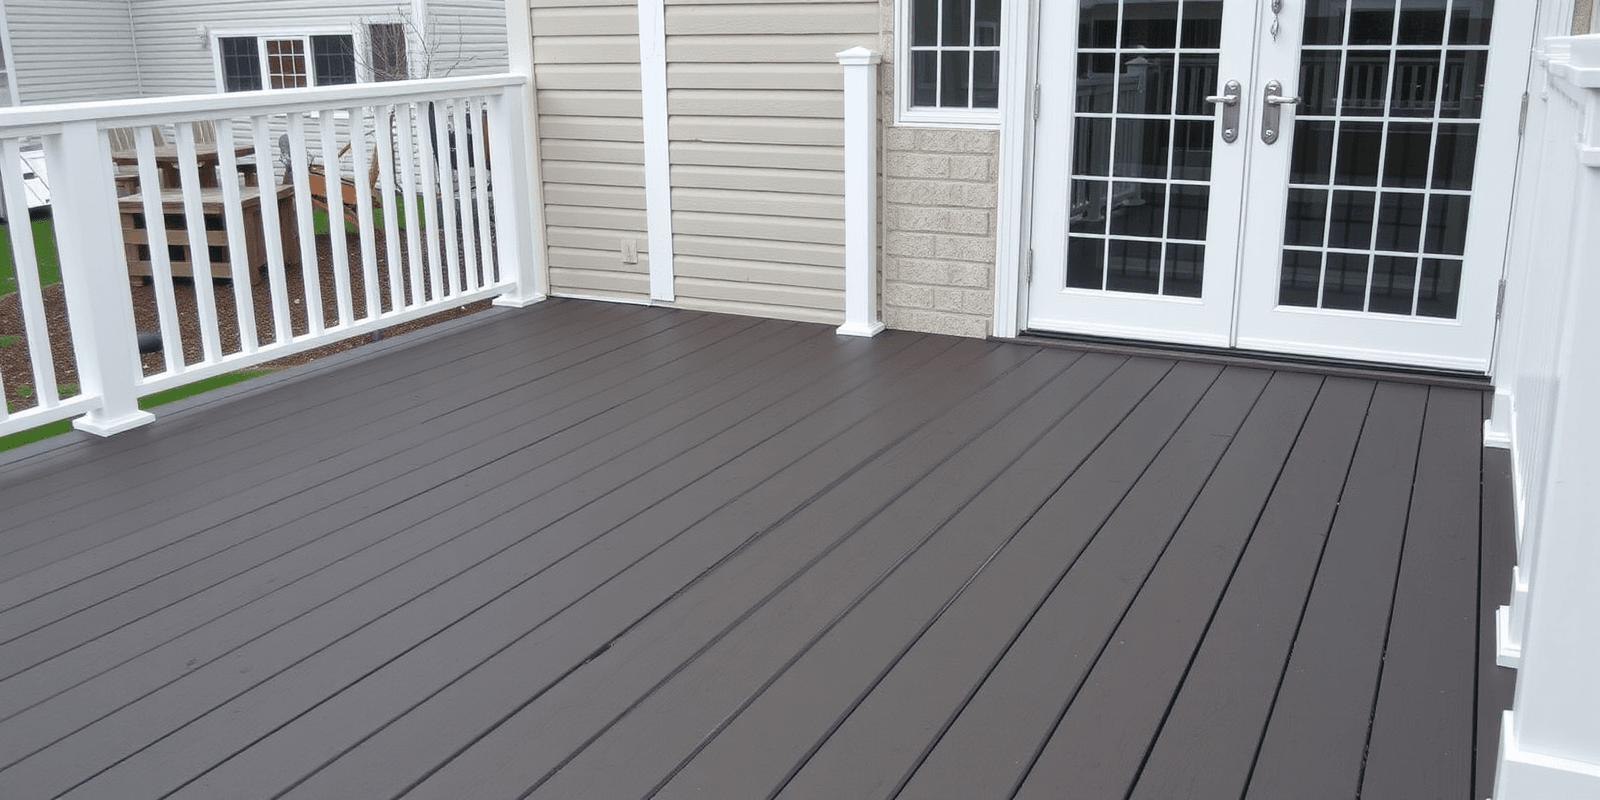
Building a deck can significantly enhance the aesthetic appeal and functionality of your outdoor space. When it comes to choosing the right materials for your deck, Ultrashield composite decking stands out as an excellent option due to its durability, low maintenance requirements, and eco-friendly nature. This guide will walk you through the process of Ultrashield composite decking installation, covering everything from material selection to the final steps.
Material Selection
Before starting the installation, it’s crucial to select the right Ultrashield composite decking boards that match your vision and needs. Ultrashield offers a range of colors and styles, allowing you to choose one that complements your home’s exterior. Ensure that the boards are free from any defects or damages during inspection. Additionally, consider purchasing extra boards to account for potential cuts and waste.
Preparation
The groundwork for any successful installation is thorough preparation. Begin by clearing the area where the deck will be installed. Remove any grass, debris, or existing structures. Next, ensure the ground is level and stable. For added stability, install concrete footings at regular intervals, following the manufacturer’s guidelines. Once the footings are in place, attach the ledger board to the house using appropriate fasteners, ensuring a secure connection.
Detailed Installation Steps
- Frame Assembly: Assemble the frame using pressure-treated lumber, attaching it to the concrete footings with metal brackets. Secure the ledger board to the house, ensuring it is level and properly attached.
- Joist Installation: Install the joists perpendicular to the ledger board, spacing them according to the manufacturer’s recommendations. Use galvanized or stainless steel screws to attach the joists to the frame.
- Deck Board Installation: Start laying the Ultrashield composite decking boards parallel to the house. Leave a small gap between each board to allow for expansion and contraction. Fasten the boards using hidden fasteners or screws, making sure they are evenly spaced and securely attached.
- Finishing Touches: Trim the edges with appropriate trim boards to give the deck a clean, finished look. Seal or stain the deck as desired to protect it from the elements and enhance its appearance.
Conclusion
Installing an Ultrashield composite deck is a rewarding project that can transform your outdoor living space. By carefully selecting the right materials, preparing the site thoroughly, and following these detailed installation steps, you can create a beautiful, durable, and low-maintenance deck that will last for years. Enjoy your new outdoor oasis!
“`

