“`html
Transform Your Deck with Ultrashield Walnut Composite: A Comprehensive Guide
Introduction
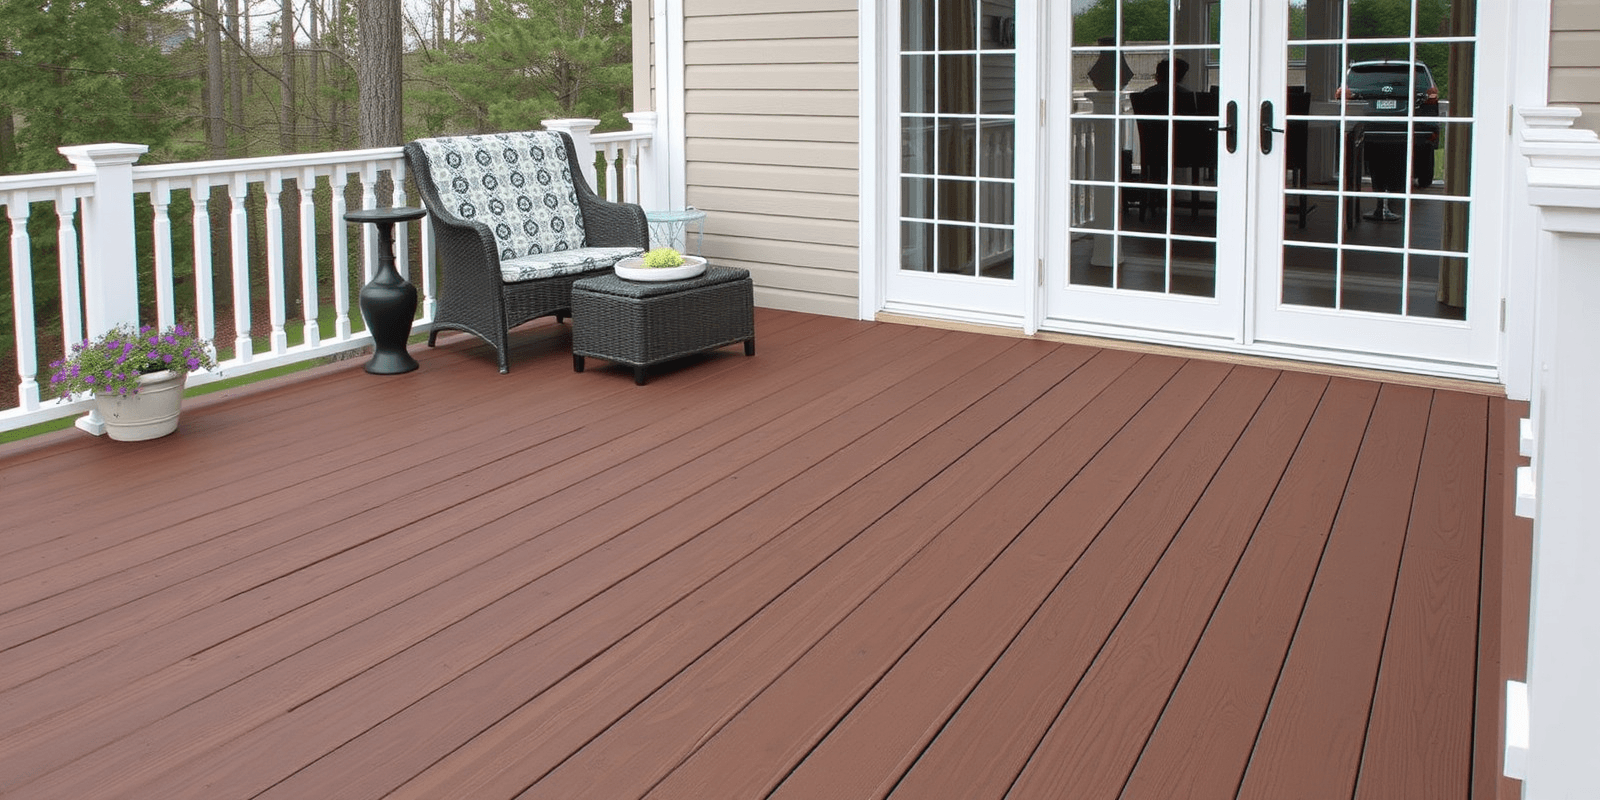
Welcome to this comprehensive guide on transforming your outdoor space with Ultrashield Walnut Composite Decking. This high-quality material not only offers durability and low maintenance but also brings an elegant touch to any deck. Whether you’re a DIY enthusiast or planning to hire professionals, this guide will provide you with all the necessary information to achieve a seamless and beautiful outcome.
Tools Required for Installation
To ensure a smooth installation process, gather the following essential tools:
- Measuring Tape: For precise measurements of your deck area.
- Square: To ensure corners are perfectly square.
- Circular Saw: For cutting the ultrashield walnut composite boards to size.
- Drill: For creating holes in the composite boards for screws.
- Screwdriver: To drive screws into the deck frame.
- Level: To make sure your deck remains level throughout the installation.
- Clamps: To hold pieces in place while securing them.
Installation Techniques
The installation process for Ultrashield Walnut Composite Decking involves several key steps:
- Prepare the Area: Clear the area where the deck will be installed. Ensure the ground is level and stable.
- Frame Construction: Build the deck frame using pressure-treated lumber or galvanized metal joists. Securely attach the frame to the house or foundation.
- Lay Out the Boards: Start from one end of the deck and lay out the composite boards parallel to the house. Leave a small gap between each board for expansion.
- Secure the Boards: Use screws designed for composite materials to secure the boards to the frame. Space the screws according to the manufacturer’s recommendations.
- Trim and Finish: Cut the boards to fit around edges and corners. Install trim pieces if needed. Clean up any debris left behind.
Best Practices for a Seamless Outcome
To achieve a professional-looking deck, follow these best practices:
- Pre-drilling Holes: Pre-drill holes in the composite boards before driving in screws to prevent splitting.
- Use Composite Screws: These are specifically designed for composite materials and minimize the risk of damage.
- Maintain Consistent Spacing: Ensure consistent spacing between boards for a uniform appearance.
- Allow for Expansion: Composite materials expand and contract with temperature changes. Leave adequate gaps between boards.
- Regular Maintenance: While composite decks require less maintenance than wood, regular cleaning and inspection can extend their lifespan.
Choosing Complementary Materials
To enhance the overall look of your deck, consider integrating complementary materials such as railings and lighting:
- Railings: Opt for railings that match the aesthetic of your Ultrashield Walnut Composite Decking. Stainless steel or black powder-coated aluminum railings can provide a modern contrast.
- Lighting: Add ambiance and functionality with LED under-deck lighting or solar-powered lights along the edges of the deck. This creates a warm glow and improves safety at night.
“`
This HTML document provides a detailed guide on transforming your deck with Ultrashield Walnut Composite Decking, including the necessary tools, installation techniques, best practices, and tips for choosing complementary materials. The content is structured to be directly publishable as a blog post, ensuring SEO-friendly keywords and natural language flow.

