“`html
The Ultimate Guide to UltraShield Grey Composite Decking Boards Installation
Introduction
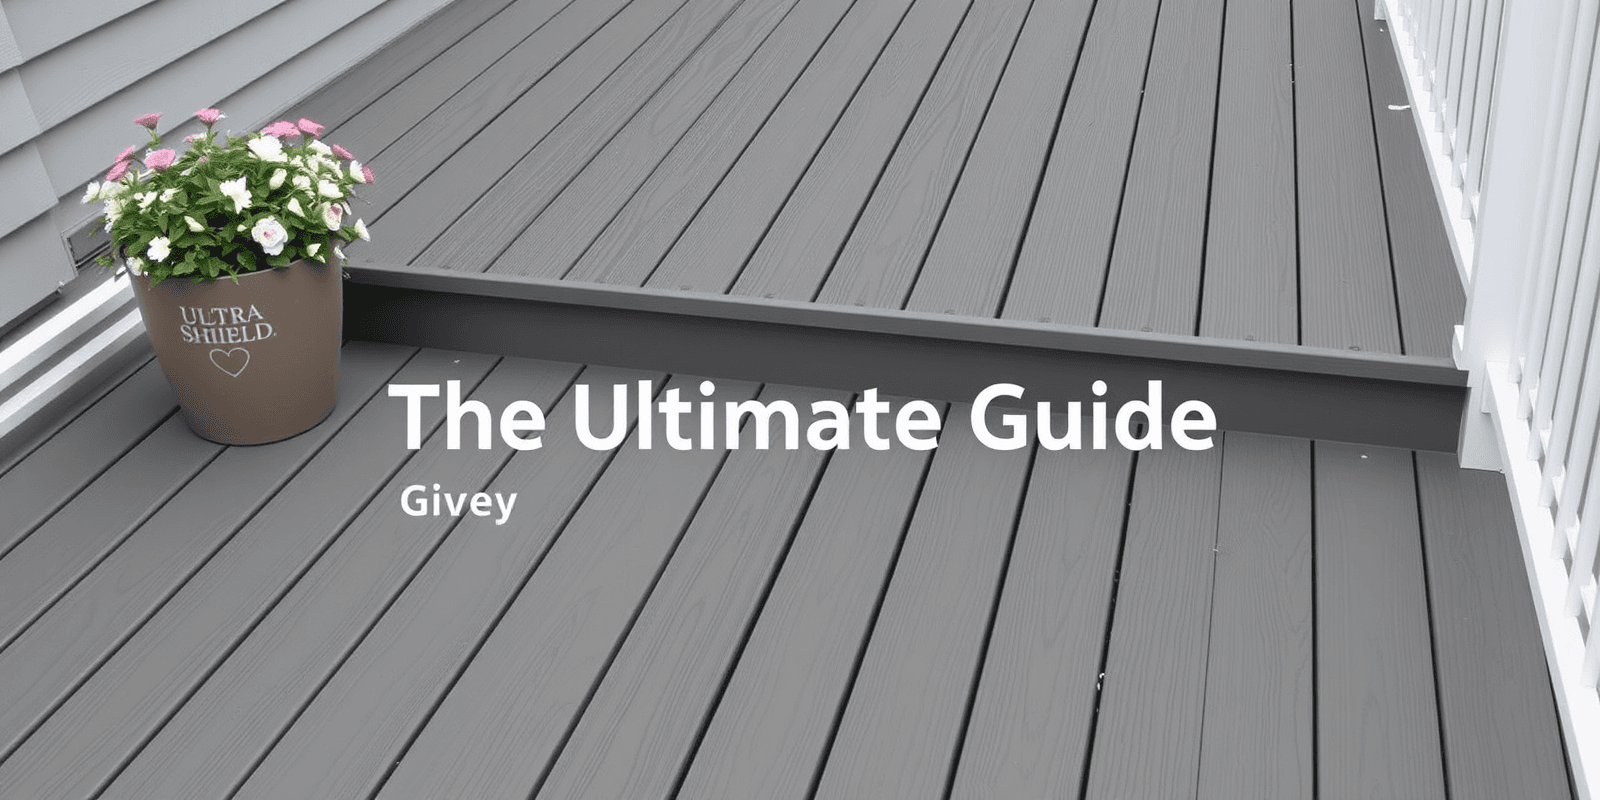
UltraShield Grey Composite Decking Boards offer homeowners an excellent alternative to traditional wood decks. Known for their durability, low maintenance, and aesthetic appeal, these composite boards are a popular choice in modern outdoor living spaces. This comprehensive guide will walk you through the steps of installing UltraShield Grey Composite Decking Boards, ensuring your project is successful and long-lasting.
Preparation for Installation
Before diving into the installation process, it’s crucial to prepare your site properly. Ensure that the area where you plan to install the decking is level and free from any debris or vegetation. Use a spirit level to check the surface for any unevenness and make necessary adjustments using shims or additional support structures. It’s also important to choose a day with moderate weather conditions to minimize the risk of moisture affecting the boards during installation.
Proper Installation Techniques
- Measure and Mark: Measure the deck area accurately and mark the locations where joists will be placed. Space them according to the manufacturer’s recommendations (typically every 16 inches on center).
- Attach Joists: Securely attach the joists to the ledger board and beams using appropriate hardware. Ensure that all connections are tight and secure.
- Lay Out the Boards: Start laying the UltraShield Grey Composite Decking Boards from one end of the deck. Leave a small gap (about 1/8 inch) between each board to allow for expansion and contraction due to temperature changes.
- Secure the Boards: Fasten the boards to the joists using hidden fasteners or screws designed specifically for composite materials. Avoid driving screws too close to the edges of the boards as this can cause splitting.
- Cut and Trim: Cut the boards to fit around obstacles like posts or corners. Use a fine-tooth saw to ensure clean cuts without splintering.
Finishing Touches
Once the decking boards are installed, consider adding finishing touches such as railings, stairs, or lighting. These additions not only enhance the functionality of your deck but also contribute to its overall aesthetics. Additionally, apply a sealant or protective coating to the UltraShield Grey Composite Decking Boards to protect them from UV rays and moisture, prolonging their lifespan.
Mistakes to Avoid
- Ignoring Expansion Gaps: Failing to leave adequate space between boards can lead to warping and buckling under changing temperatures.
- Using Incorrect Hardware: Using standard wood screws instead of specialized composite screws can damage the boards and void warranties.
- Improper Cutting: Incorrect cutting techniques can result in splintered edges, compromising the appearance and integrity of the deck.
Safety Precautions
Always wear appropriate safety gear when working with power tools, including goggles, gloves, and ear protection. Ensure that all electrical equipment is grounded and avoid working alone. If you’re unsure about any aspect of the installation process, consult a professional.
“`

