“`html
Screw-Up Solutions: Correcting Mistakes in Composite Deck Installation
Introduction
Composite decking has become increasingly popular due to its durability and low-maintenance requirements. However, even with careful planning, mistakes can happen, such as using the wrong screws. This guide will help you identify and replace incorrect screws in your composite deck installation, ensuring your deck remains safe and aesthetically pleasing.
Identifying Incorrect Screws
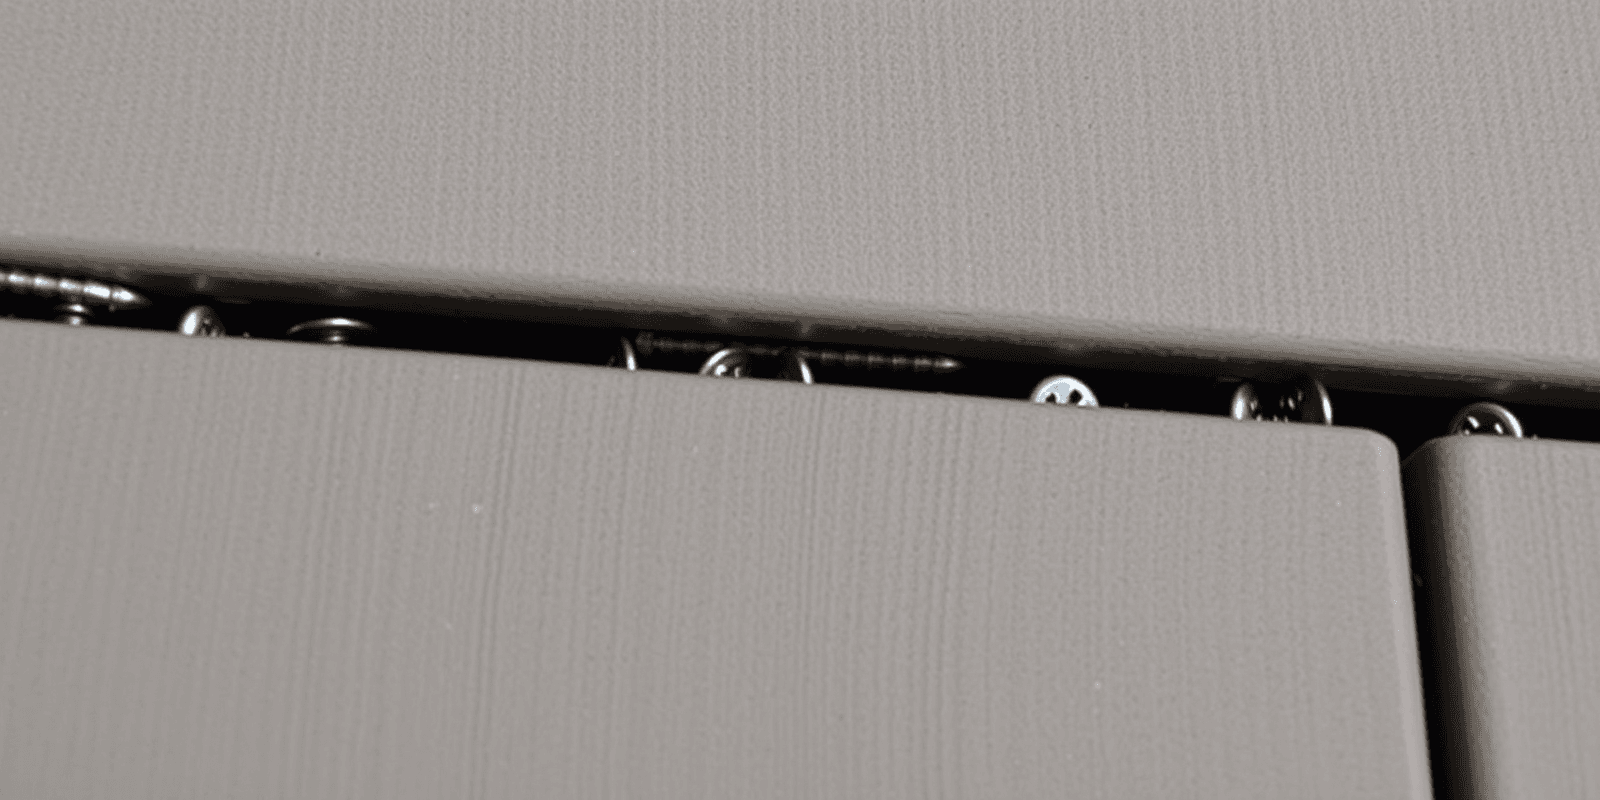
The first step is to identify if you have indeed used the wrong screws. Common signs include visible damage to the composite boards, screws that do not sit flush with the surface, or screws that are too short or too long for the application. It’s crucial to understand the type of screw recommended for composite decking, which typically features a special coating and a self-tapping point designed to prevent splitting and corrosion.
Safety Precautions
Before starting any repair work, ensure you take necessary safety precautions. Wear protective gear, including gloves, safety glasses, and a dust mask. Additionally, use a sturdy ladder or scaffolding to reach high areas safely. Make sure the area around the deck is clear of any obstructions and that the deck itself is stable and secure before beginning work.
Recommended Tools
- Drill with appropriate bits (e.g., spade bit for removing old screws)
- Replacement screws (specifically designed for composite decking)
- Screw extractor kit
- Replacement composite deck boards (if necessary)
- Measuring tape
- Level
Replacing Incorrect Screws
- Remove Old Screws: Use a drill with a spade bit to carefully remove the incorrect screws. If the screws are stripped, use a screw extractor kit to remove them without damaging the surrounding material.
- Prepare New Holes: Ensure new holes are drilled at the correct depth and angle to accommodate the replacement screws. Use a measuring tape and level to ensure consistency across the deck.
- Install New Screws: Insert the new screws designed specifically for composite decking. These screws should have a special coating and a self-tapping point to prevent splitting and corrosion.
Maintenance Advice
To prevent future issues, it’s essential to maintain your composite deck regularly. Clean the deck periodically with mild soap and water, and avoid harsh chemicals that could damage the material. Check for loose screws or other signs of wear during routine inspections, and address any issues promptly.
Conclusion
Correcting mistakes in composite deck installation, particularly the use of incorrect screws, requires attention to detail and proper tools. By following this guide, you can ensure your deck remains safe, functional, and beautiful for years to come.
“`

