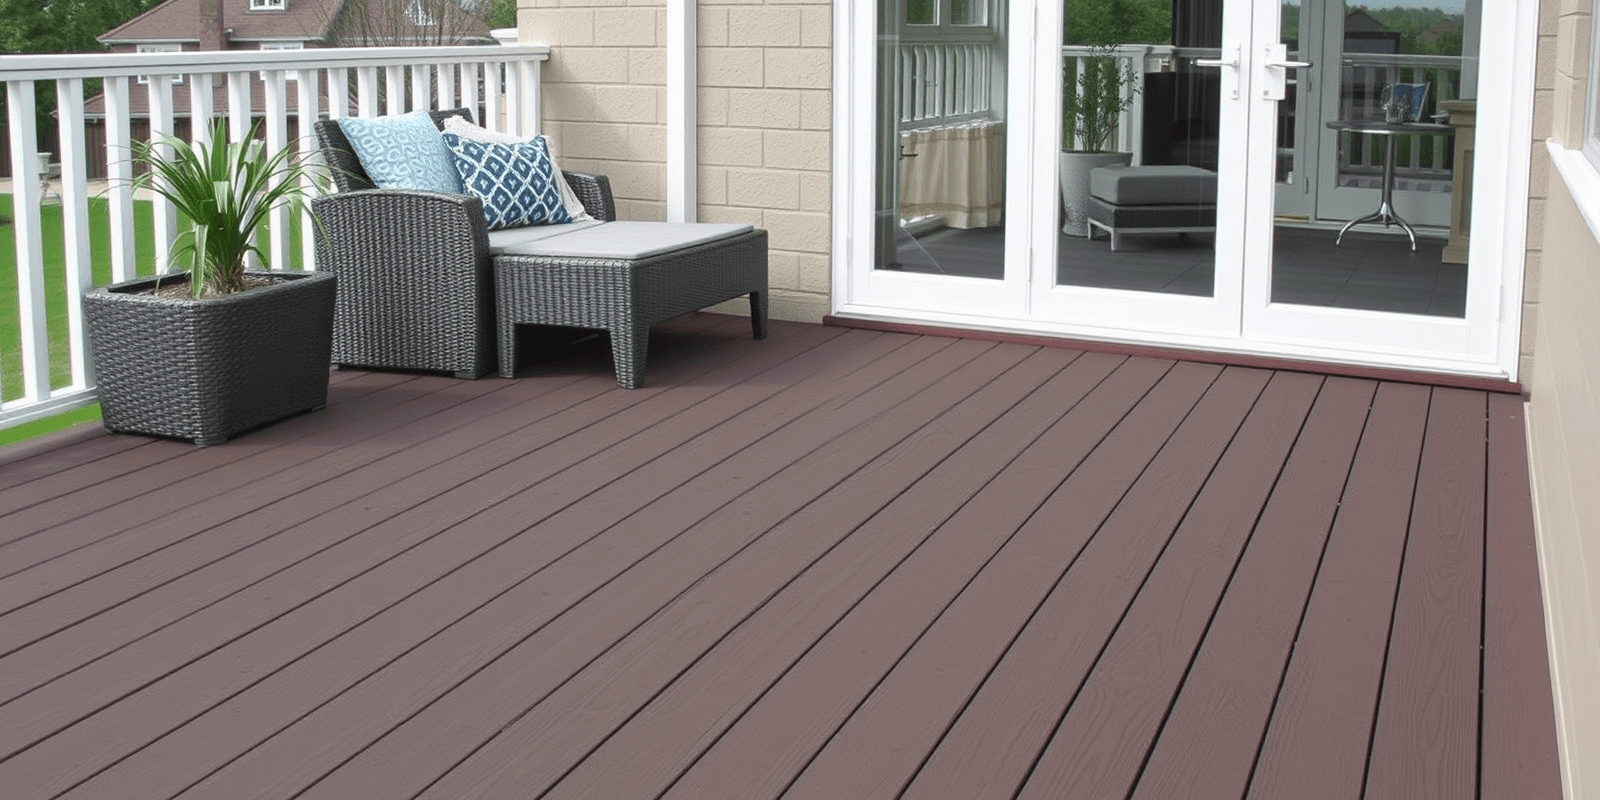
Maximizing Your TREX Composite Deck with Proper Fastening Techniques
Introduction
Creating a durable and aesthetically pleasing composite deck involves more than just choosing the right materials; it also requires meticulous attention to fastening techniques. TREX composite decking is renowned for its durability and low maintenance, but to ensure your deck lasts for years, you need to use the right fasteners and follow proper installation methods. This guide will walk you through the essential steps to maximize your TREX composite deck’s longevity and appearance using the best fastening practices.
Choosing the Right Fasteners: Screws vs. Nails
When it comes to securing TREX composite decking materials, the choice between screws and nails is crucial. While both have their merits, screws generally offer superior holding power and are less likely to cause the composite material to split. However, nails can be faster to install and may be preferred in certain situations where speed is essential. The key is to understand the specific requirements of your project and choose accordingly.
Screw Depth and Spacing
To achieve a professional look and prevent damage to the composite material, it’s important to control the depth at which screws are driven. Overdriving screws can lead to splitting, while underdriving them may not secure the board sufficiently. A good rule of thumb is to countersink screws so that they sit just below the surface of the composite material. For spacing, maintain consistent gaps between boards to allow for expansion and contraction due to temperature changes. Typically, a gap of about 1/8 inch is recommended.
The Importance of Using the Right Type of Fastener
Selecting the appropriate type of fastener is another critical aspect of installing a TREX composite deck. Different fasteners are designed for various applications and materials. For instance, hidden fasteners can provide a sleek, seamless appearance by concealing screws from view. These are particularly useful when aiming for a clean, modern look. On the other hand, face-mounting screws are ideal for areas where aesthetics are less of a concern. Always refer to the manufacturer’s recommendations for the best results.
Step-by-Step Instructions for Installation
- Prepare the Area: Ensure the substructure is level and free from debris.
- Mark the Boards: Use a chalk line to mark the placement of each board.
- Start Installing: Begin at one end of the deck and work your way across, following the manufacturer’s guidelines for spacing and screw depth.
- Use Hidden Fasteners: If desired, use hidden fasteners for a clean finish, especially along edges and around corners.
- Check Alignment: Regularly check that boards are aligned properly and adjust as needed.
Visual Aids for Proper Fastening
For a clearer understanding, refer to the following images and diagrams:


Conclusion
By following these guidelines and using the appropriate TREX composite decking nails or screws, you can create a deck that not only looks great but also stands the test of time. Remember, precision and attention to detail are key to achieving a professional result. With the right approach, your TREX composite deck will be a source of pride for years to come.


