“`html
Installation Guide for Two Sided Composite Decking Boards
Introduction
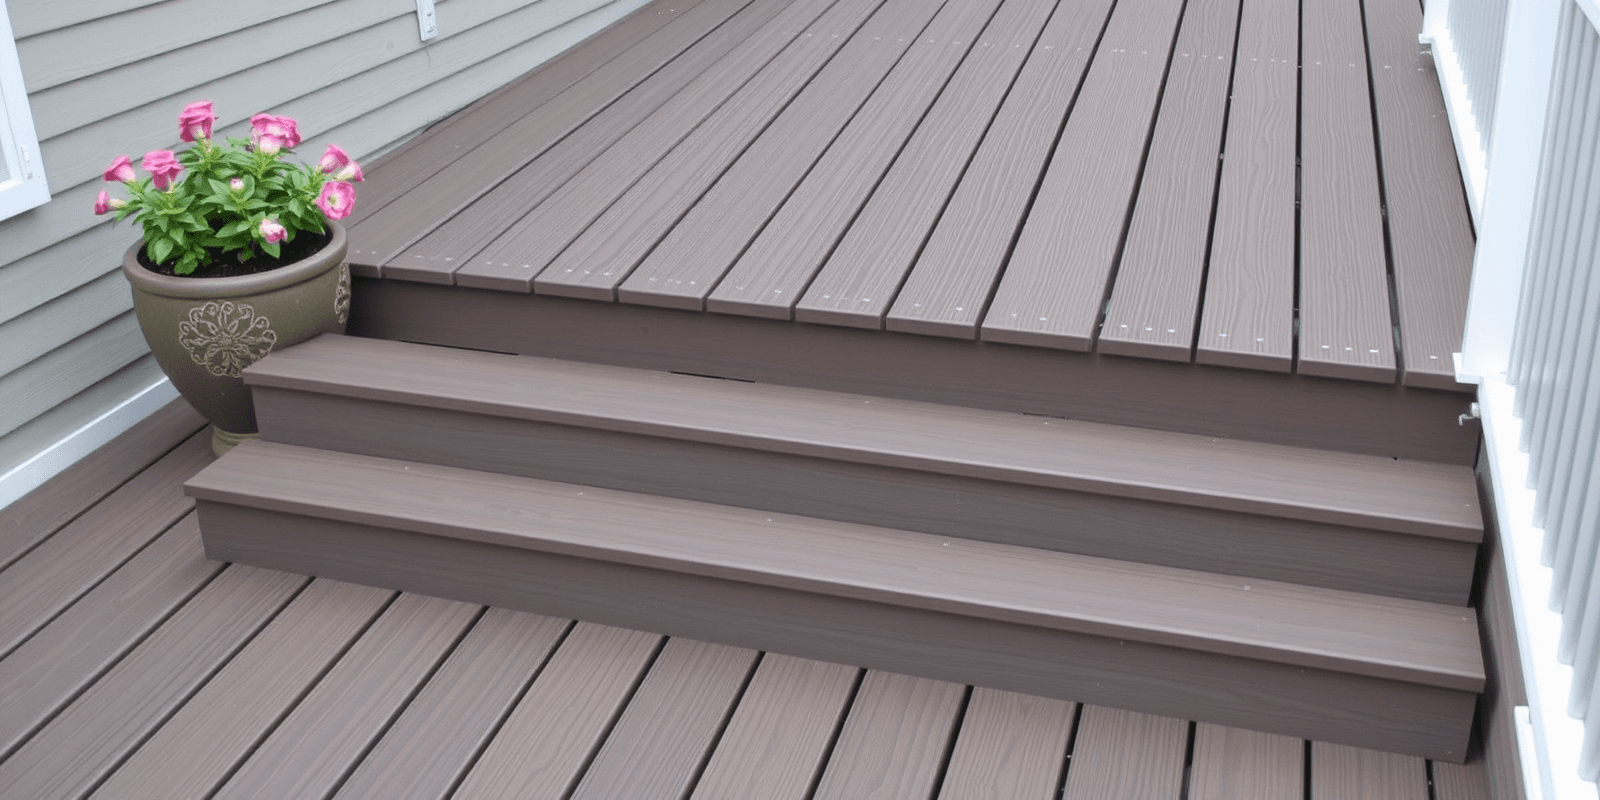
Composite decking has gained popularity in recent years due to its durability, low maintenance, and aesthetic appeal. Two-sided composite decking boards offer an added advantage of being usable on both sides, enhancing their versatility and longevity. This guide aims to provide a comprehensive overview of installing two-sided composite decking boards, covering every step from planning to finishing touches.
Planning and Preparation
Selecting the Right Materials
Choosing high-quality two-sided composite decking boards is crucial for a successful project. Look for brands that offer warranties, as this indicates confidence in their product’s longevity. Consider factors like color consistency, UV resistance, and slip resistance. Additionally, ensure you have the necessary tools such as a circular saw, drill, screws, and a level.
Proper Measurements
Accurate measurements are essential to avoid waste and ensure a seamless installation. Measure your deck area thoroughly, including any irregularities or obstacles. It’s advisable to add a few inches to each dimension to account for adjustments during installation.
Cutting and Joining Techniques
Cutting Boards
When cutting two-sided composite decking boards, use a fine-toothed blade to minimize splintering. Always measure twice and cut once to ensure precision. For straight cuts, mark the board with a pencil and use a speed square to guide your saw.
Joining Boards
For a professional finish, use hidden fasteners or clips designed specifically for composite decking. These methods reduce the visibility of screws and enhance the deck’s appearance. Ensure that joints are aligned properly and that gaps between boards allow for expansion and contraction.
Final Assembly and Finishing Touches
Installing the First Row
Start by laying down the first row of decking boards parallel to the house wall. Use a level to ensure it is perfectly horizontal. Secure the boards using hidden fasteners, ensuring they are evenly spaced and flush with the house wall.
Completing the Deck
Continue laying rows of decking boards, working your way outward. Regularly check the alignment and level of each board to maintain uniformity. Once the deck is fully laid, apply a sealant or stain to protect the boards from weather elements and enhance their appearance.
Common Mistakes to Avoid
- Improper Spacing: Leaving too much or too little space between boards can lead to warping or uneven surfaces.
- Incorrect Cutting: Using the wrong blade or technique can result in splintering and uneven cuts.
- Ignoring Expansion: Failing to account for thermal expansion can cause boards to buckle or lift.
- Sloppy Fastening: Inconsistent screw placement or improper fastener depth can affect the overall look and stability of the deck.
“`

