How to Install Composite Decking
Introduction
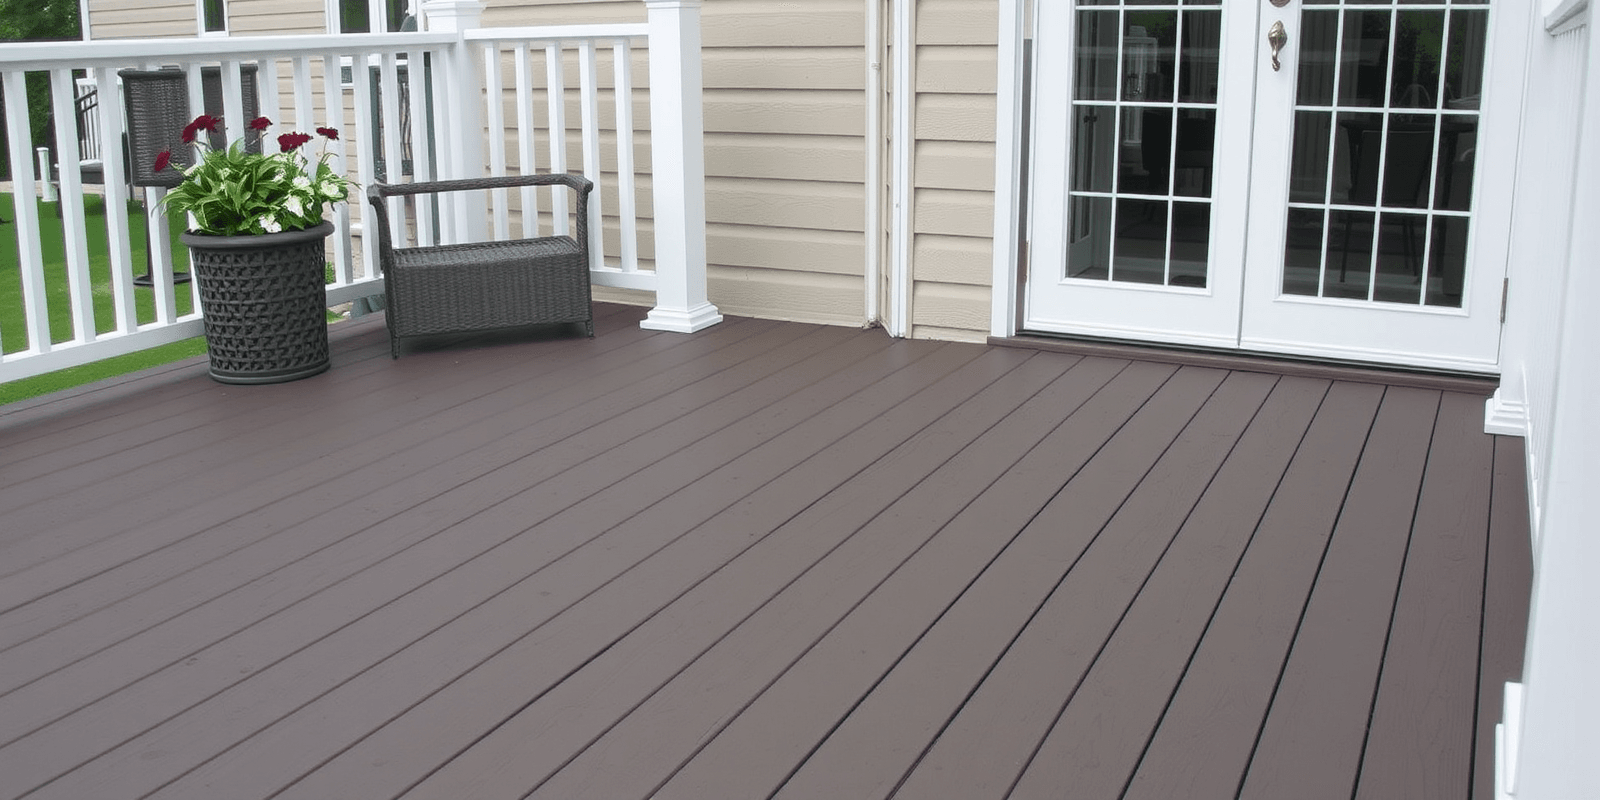
Composite decking has become increasingly popular as an alternative to traditional wood decking due to its durability, low maintenance, and aesthetic appeal. Unlike natural wood, composite decking is made from a mix of recycled plastic and wood fibers, making it resistant to rot, insects, and moisture. This guide will walk you through the process of installing composite decking, from site preparation to the finishing touches. Whether you’re a DIY enthusiast or planning a professional project, this comprehensive guide will help you achieve a beautiful and long-lasting composite deck.
Site Preparation
The first step in installing composite decking is to prepare your site properly. Begin by choosing a level area for your deck, ensuring that the ground is firm and free from any debris. Use a string line and stakes to mark out the perimeter of your deck, and then remove the topsoil to a depth of about six inches. Ensure the surface is even and compacted using a plate compactor. If necessary, add gravel or sand to create a solid base for your deck. This will prevent future settling and ensure stability.
Measuring and Planning
Once your site is prepared, it’s time to measure and plan the layout of your deck. Measure the length and width of the area where your deck will be installed. Add a few extra inches to each dimension to allow for overhangs and any changes in elevation. Draw a scaled diagram of your deck, marking where the support posts, beams, and joists will go. This will help you visualize the structure and ensure you have all the materials needed before beginning the installation.
Cutting and Preparing Materials
Before starting the installation, you’ll need to cut your composite decking boards to size. Use a circular saw with a carbide blade designed for cutting composite materials. Make sure to follow the manufacturer’s instructions for the best results. Additionally, pre-drill holes for screws to avoid splitting the composite material. This step is crucial for maintaining the integrity and appearance of your deck.
Installation Techniques
Begin by laying down the support beams and joists according to your plan. Secure them firmly using appropriate hardware such as galvanized lag bolts. Once the frame is in place, start laying the composite decking boards. Start at one end and work your way across, leaving a small gap between each board to allow for expansion. Use hidden fasteners or composite screws for a clean look. Hidden fasteners are inserted into pre-drilled holes in the side of the boards, while composite screws are driven directly into the face of the boards. Both methods provide excellent stability and a professional finish.
Securing Methods
Securing the composite decking boards is critical for ensuring longevity and safety. For hidden fasteners, use a drill to insert the fasteners into the pre-drilled holes. For composite screws, use a drill with a screwdriver bit. Make sure to drive the screws at an angle to prevent water from seeping in and causing damage. Pay special attention to the edges and corners, as these areas require more reinforcement to prevent warping or lifting.
Finishing Touches
Once all the decking boards are in place, it’s time to add the finishing touches. Sand any rough edges or surfaces to ensure a smooth finish. Apply a sealant or protective coating if desired, though many composite decks do not require additional treatment. Finally, install railings, steps, and other accessories to complete your deck. These additions not only enhance the functionality but also increase the overall aesthetic appeal of your composite deck.

