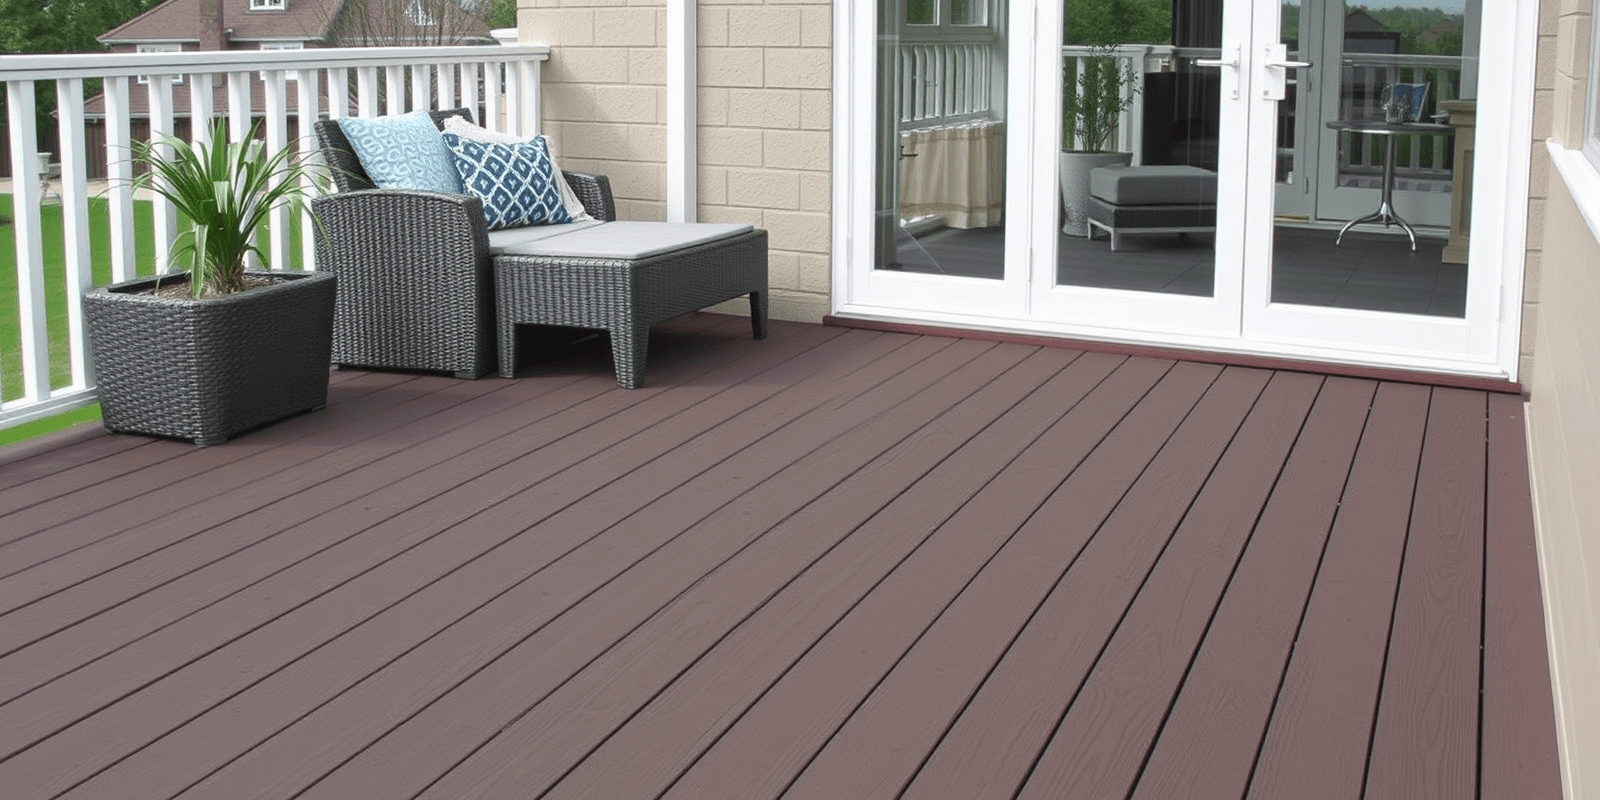
“`html
Installation Tips for Wood Composite Decking Boards
Introduction
Welcome to our comprehensive guide on installing wood composite decking boards. Wood composite decking offers the beauty of natural wood with enhanced durability and low maintenance requirements. Whether you’re a DIY enthusiast or a professional contractor, this article will provide you with detailed, step-by-step instructions to ensure a successful installation. By following these guidelines, you can achieve a professional result that will enhance your outdoor living space for years to come.
Preparation
Selecting the Right Material
Choosing the right wood composite decking board is crucial for a successful project. Look for high-quality materials that are resistant to moisture, stains, and fading. Brands like Trex and TimberTech are known for their durability and aesthetic appeal. Research different options to find one that meets your specific needs and budget.
Planning Your Layout
Before you start, carefully plan your deck layout. Consider factors such as the slope of your property, proximity to structures, and local building codes. Sketch out your design and make any necessary adjustments to ensure a safe and functional space.
Tools Needed
- Tape measure
- Square
- Chalk line
- Circular saw or miter saw
- Jigsaw
- Drill
- Deck screws
- Decking board fasteners
- Post hole digger (if building a raised deck)
- Level
- Hammer
Installation Techniques
Preparing the Substructure
Start by preparing the substructure of your deck. This typically involves installing posts, beams, and joists. Ensure everything is level and secure before moving on to the next step. Use pressure-treated lumber for the frame to resist rot and decay.
Laying Out the First Board
The first board sets the tone for the entire project. Lay it out along the edge of the deck, using a chalk line to mark where subsequent boards will be installed. Leave a small gap between each board to allow for expansion and contraction due to temperature changes.
Securing the Boards
Use deck screws or composite-specific fasteners to secure the boards in place. For a cleaner look, consider using hidden fasteners. These can be installed from underneath the boards, creating a smooth surface without visible screws. Be sure to follow the manufacturer’s recommendations for spacing and screw placement.
Finishing Touches
Trimming and Sealing
Once all the boards are in place, trim any excess material with a jigsaw. Apply a sealant or finish if desired to protect the wood composite decking from UV rays and moisture. While wood composite decking generally requires less maintenance than traditional wood, periodic cleaning and sealing can extend its lifespan.
Final Inspection
Take a final walk around your newly installed deck to check for any imperfections. Tighten loose screws, adjust boards if necessary, and make sure everything is level and secure. A thorough inspection at this stage can save you time and effort in the long run.
“`


