Wood Plastic Composite DIY Decking
Introduction
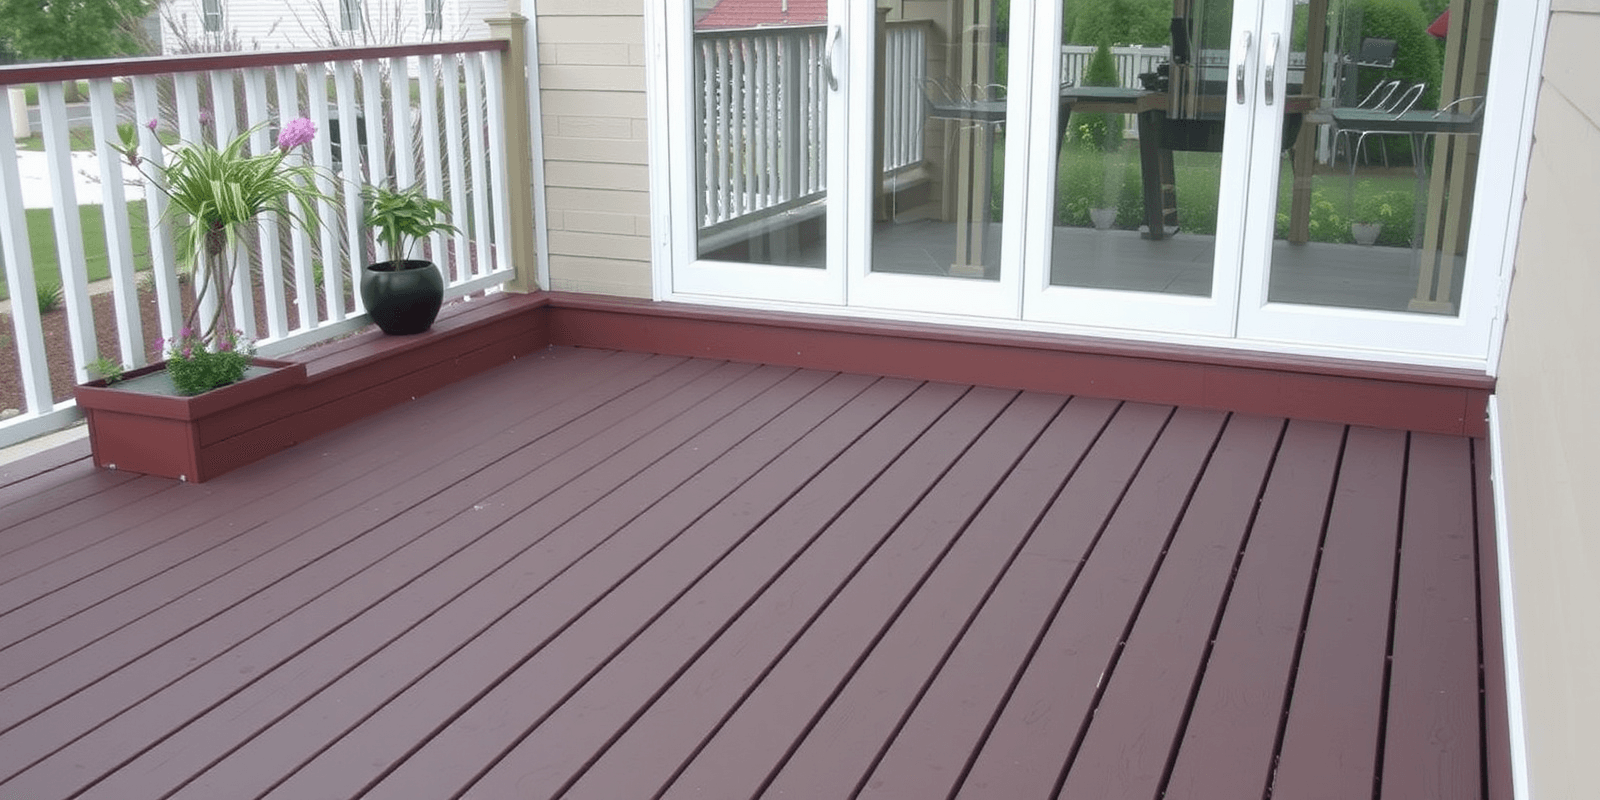
Building a deck is a rewarding project that can enhance your outdoor living space. Wood Plastic Composite (WPC) decking offers several advantages over traditional wood, including durability, low maintenance, and resistance to moisture, insects, and rot. This guide will walk you through the essential steps to create a beautiful and functional WPC deck for your home.
Choosing the Right WPC Boards
The first step in any DIY project is selecting the right materials. For WPC decking, consider factors such as color, texture, and warranty. Look for products with UV protection to prevent fading and ensure longevity. Also, check the manufacturer’s warranty to ensure you’re getting a high-quality product. When selecting boards, aim for consistency in size and quality to achieve a uniform look. You can find these boards at local hardware stores or online retailers specializing in building materials.
Preparing the Site
Before you begin laying the foundation, it’s crucial to prepare the site properly. Clear the area of debris, vegetation, and level the ground. Use a string line and stakes to mark the perimeter of your deck. Ensure that the ground is firm and stable by compacting the soil if necessary. This preparation ensures that your deck will be level and secure, providing a solid base for the rest of the construction.
Laying Out the Foundation
The foundation of your WPC deck is critical for stability and safety. Typically, this involves setting concrete footings at regular intervals along the perimeter. These footings should be placed deep enough to reach below the frost line to prevent heaving. Once the footings are set, attach adjustable post bases to them. These bases allow you to adjust the height of your deck for perfect leveling. Make sure all posts are plumb and securely attached before moving on to the next step.
Installing the Joists
Joists are the horizontal supports that run between the footings and support the decking boards. Space the joists according to the manufacturer’s recommendations, typically 16 inches on center. Attach the joists using galvanized screws or nails to ensure they are securely fastened. It’s important to maintain consistent spacing to ensure a level surface for the decking boards. Consider adding blocking between the joists to add extra stability.
Attaching the Decking Boards
Once the joists are in place, you can start laying the WPC decking boards. Start from one end of the deck and work your way across, leaving a small gap between each board for expansion. Use hidden fasteners or screws designed specifically for WPC materials to avoid damaging the boards. Ensure that the boards are straight and aligned correctly as you go. This attention to detail will result in a professional-looking finish.
Sealing and Finishing Touches
To protect your new deck and enhance its appearance, apply a sealant or stain designed for WPC materials. This step is crucial as it helps maintain the color and prolongs the life of your deck. Follow the manufacturer’s instructions carefully and apply evenly for best results. Adding railings, lighting, and planters can further enhance the functionality and aesthetics of your deck.

