“`html
TREX Composite Decking 12 Inches: Installation Tips and Tricks
Introduction
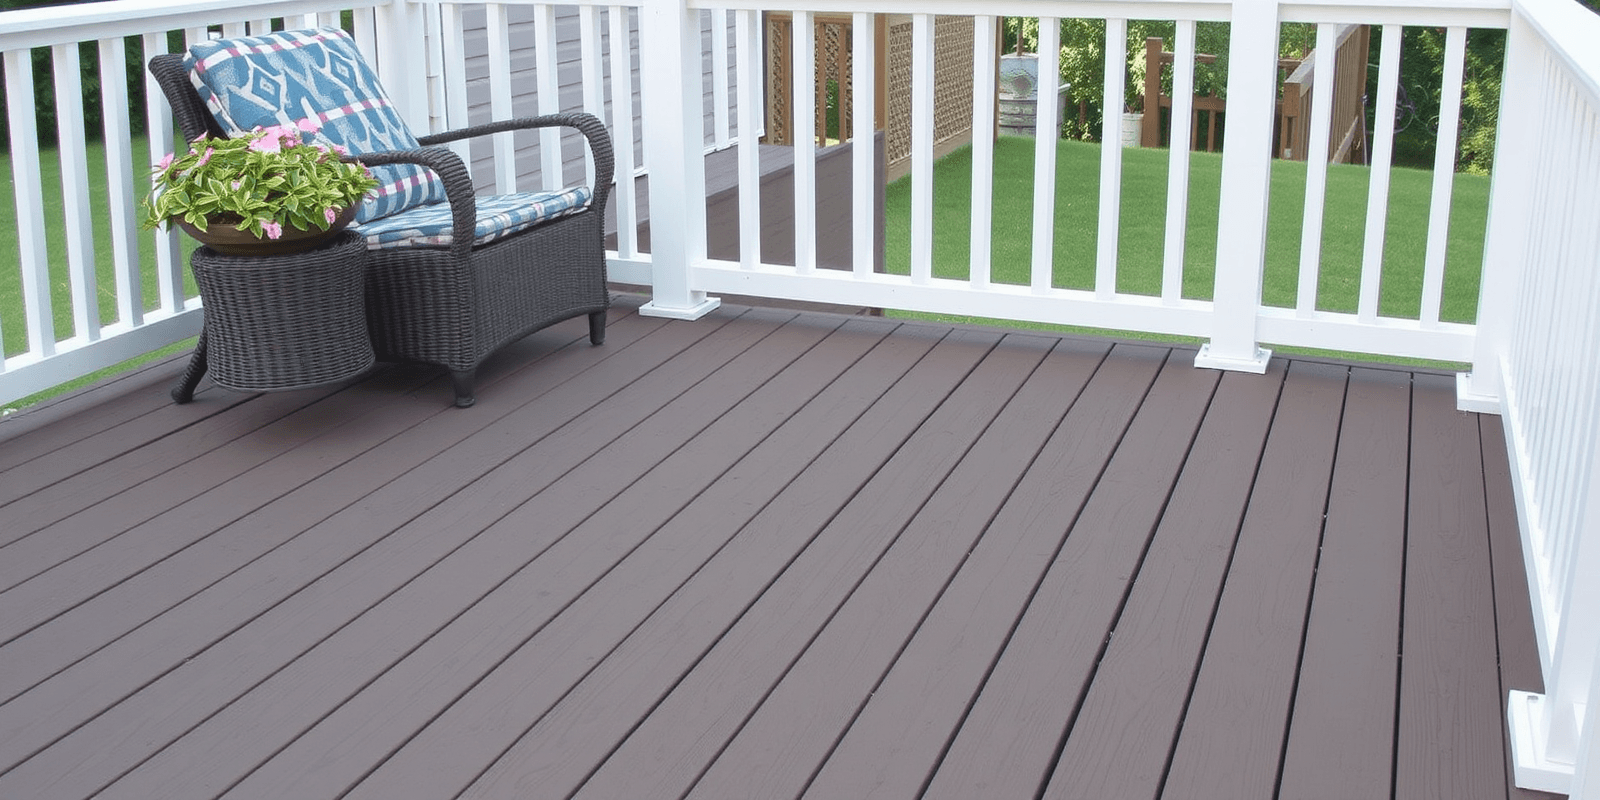
TREX composite decking has become a popular choice for homeowners looking for durable, low-maintenance, and aesthetically pleasing outdoor living spaces. The 12-inch width of TREX composite planks provides an ideal balance between stability and aesthetics. This guide will walk you through the essential steps of installing TREX composite decking in 12-inch widths, ensuring you achieve professional results.
Measuring and Planning
Before starting the installation, it’s crucial to measure your deck area accurately. Use a tape measure to determine the length and width of your deck. For a 12-inch wide plank system, ensure that your measurements are precise to avoid unnecessary cuts or wasted materials. Sketch out a layout plan, marking where each plank will be placed. This will help you visualize the final look and make necessary adjustments before you begin cutting.

Cutting the Planks
Once you have your measurements, it’s time to cut the TREX composite planks to size. Use a circular saw with a fine-tooth blade designed for cutting composite materials. Mark the cut lines clearly using a chalk line or a straight edge. Ensure your cuts are straight and clean to maintain the aesthetic appeal of your deck.

Securing the Planks
Begin by attaching the outer perimeter boards first. Use screws specifically designed for composite materials, which are less likely to split the wood. Space the screws according to the manufacturer’s recommendations, typically every 16 inches along the length of the board. As you lay subsequent rows, stagger the joints to create a more stable and visually appealing deck.

Finishing Touches
After all the planks are securely in place, inspect your deck for any gaps or uneven areas. Fill in any gaps with appropriate filler material and sand down any rough spots. Finally, apply a sealant or finish if desired to enhance the appearance and protect the decking from the elements.

Conclusion
Installing TREX composite decking in 12-inch widths is a rewarding project that can enhance your outdoor living space. By following these detailed steps and tips, you can achieve a professional-looking deck that will last for years to come. Remember to measure carefully, cut precisely, and secure the planks properly to ensure a sturdy and attractive result.
“`

