“`html
TREX Composite Decking Floor Joist Centers: Best Practices for Installation
Introduction
When it comes to building a durable and aesthetically pleasing outdoor space, TREX composite decking is a popular choice. Proper installation of TREX composite decking floor joist centers is crucial for ensuring the longevity and stability of your deck. This guide will outline the best practices for setting up TREX composite decking floor joist centers during installation, covering measurement techniques, necessary tools, and step-by-step installation procedures.
Tools and Materials Needed
- TREX Composite Decking Boards: Choose the appropriate TREX decking material based on your design preferences and budget.
- Joist Hangers: These are essential for securing the deck joists to the ledger board and beam.
- Screws: Use corrosion-resistant screws designed for composite materials.
- Measuring Tape: A reliable measuring tape is vital for accurate measurements.
- Level: Ensures that the deck is level and straight.
- Square: Helps in making precise right-angle cuts.
- Drill: For drilling pilot holes and screwing the joists into place.
- Deck Joists: Select high-quality lumber or composite joists based on your project requirements.
Measurement Techniques
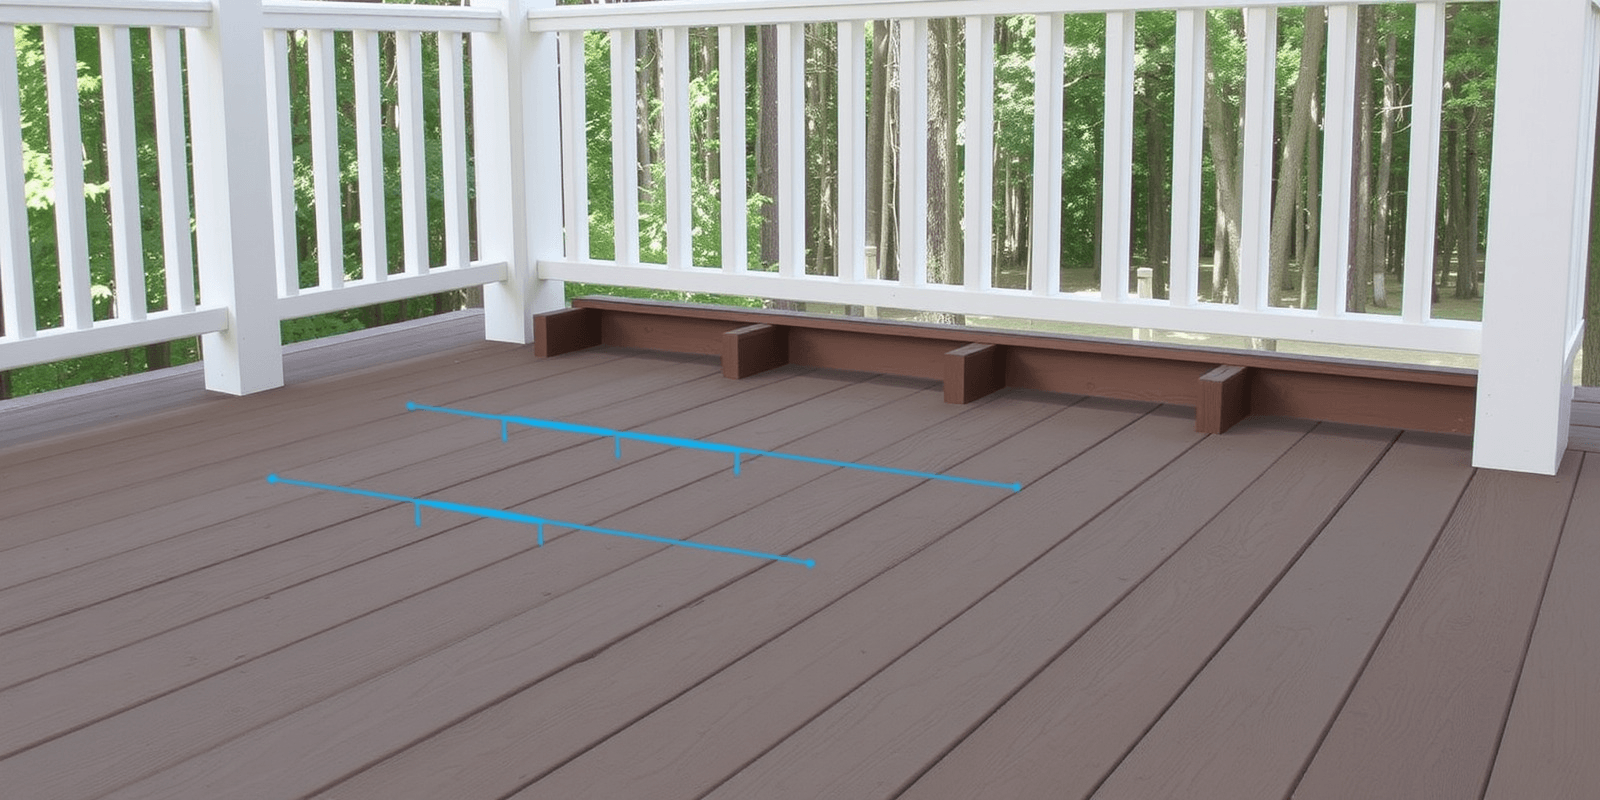
Accurate measurement is key to the successful installation of TREX composite decking floor joist centers. Start by measuring the total length of the deck along the ledger board and the opposite end where the beam will be placed. Ensure these measurements are consistent to avoid uneven joist placement. Use the measuring tape to mark the locations for each joist, spaced according to the manufacturer’s recommendations (typically 16 inches on center). Double-check all measurements with a square to ensure they are perfectly perpendicular to the ledger board.
Installation Steps
- Prepare the Site: Clear the area where the deck will be built, ensuring it is level and free from debris.
- Install Ledger Board: Attach the ledger board securely to the house using lag bolts. Ensure it is level and plumb.
- Attach Beam: Install the beam at the opposite end of the ledger board, ensuring it is also level.
- Set Joist Hangers: Secure the joist hangers to the ledger board and beam using screws. Ensure they are evenly spaced according to the measurements taken earlier.
- Position Joists: Place the deck joists into the joist hangers, ensuring they are straight and level. Secure them using screws.
- Check Alignment: Verify that all joists are aligned properly and the deck is level.
- Install Composite Decking: Lay the TREX composite decking boards over the joists, starting from the outer edge and working inward. Secure the boards using screws or clips as recommended by the manufacturer.
Conclusion
Proper installation of TREX composite decking floor joist centers is essential for creating a robust and long-lasting outdoor living space. By following these best practices, you can ensure that your deck meets quality standards and stands the test of time. Remember, precision in measurement and alignment, coupled with the use of high-quality materials and tools, will result in a beautifully constructed deck that enhances your home’s value and provides years of enjoyment.
“`
This HTML document provides a comprehensive guide on installing TREX composite decking floor joist centers, including an introduction, necessary tools and materials, measurement techniques, installation steps, and a conclusion. It also includes references for further reading.


