“`html
Installing Trex Composite Decking: A Step-by-Step Guide from Home Depot Canada
Introduction
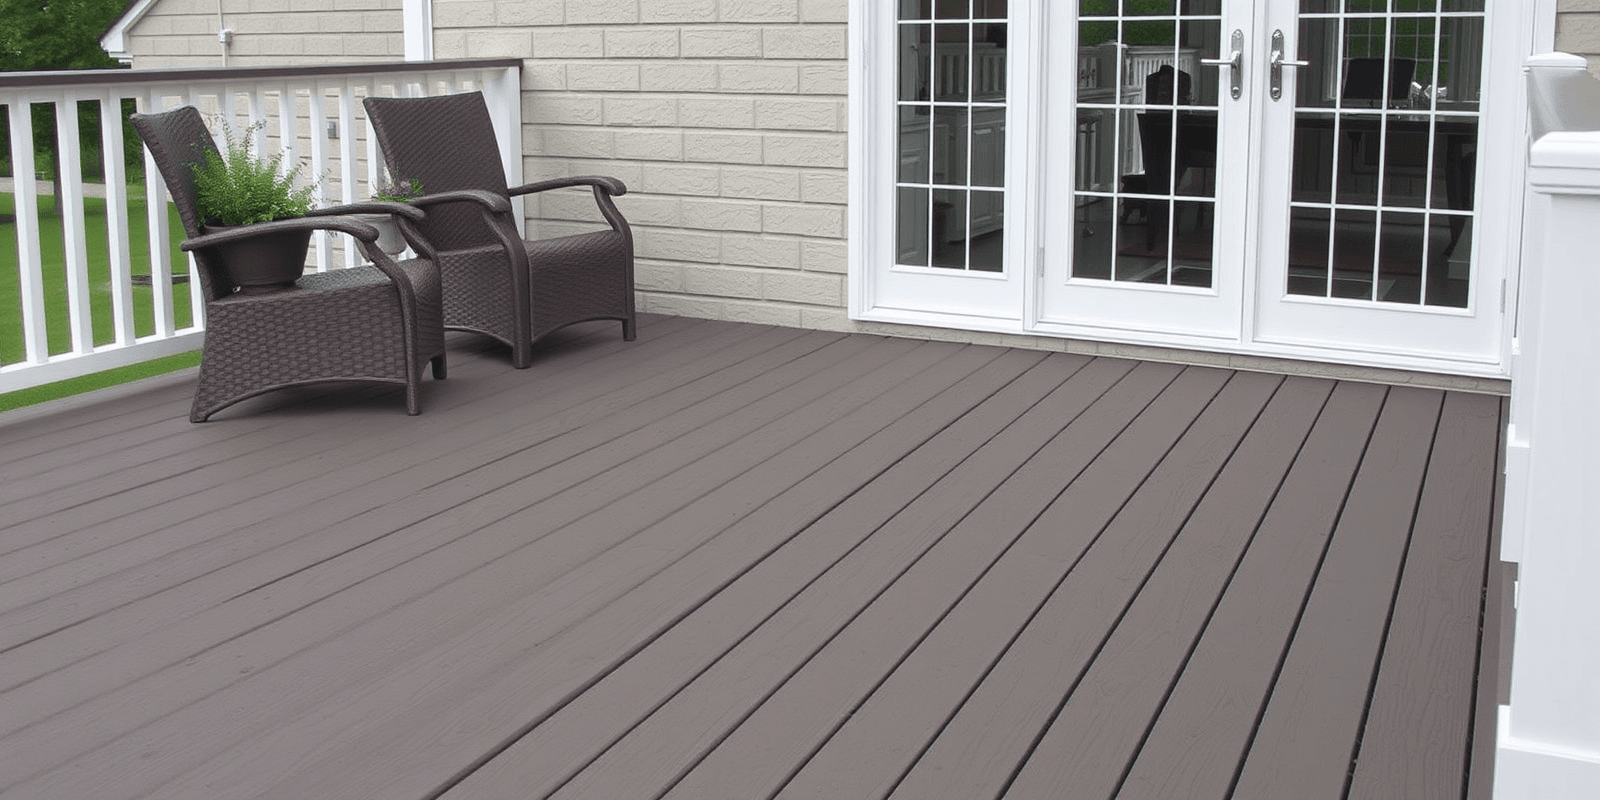
Trex composite decking is a popular choice for homeowners looking for a durable, low-maintenance outdoor living space. Known for its resistance to fading, staining, and moisture, Trex decking offers a beautiful alternative to traditional wood decking. This guide will walk you through the process of installing Trex composite decking, ensuring you achieve a professional finish. All the necessary materials can be found at Home Depot Canada.
Necessary Tools and Materials
To start your project, gather the following tools and materials:
- Trex composite boards: Available in various colors and styles at Home Depot Canada.
- Screws: Use Trex Hidden Fasteners or Trex Screws specifically designed for composite decking.
- Decking Joists: Ensure they are spaced according to Trex recommendations.
- Measuring Tape
- Chalk Line
- Circular Saw
- Drill
- Level
- Gloves and Safety Glasses
Safety Precautions
Before starting your project, ensure you take the following safety precautions:
- Wear gloves and safety glasses to protect your hands and eyes.
- Work with a partner when lifting heavy materials.
- Ensure your work area is clear of debris and tripping hazards.
- Follow manufacturer instructions for all tools and materials.
Step-by-Step Installation Guide
- Prepare the Area: Clear the area where you plan to install the decking. Ensure the surface is level and free of debris.
- Install Joists: Lay out your deck joists according to the Trex installation guidelines. Secure them with screws, ensuring they are level.
- Install Ledger Board: Attach the ledger board to the house using appropriate fasteners. Ensure it is level and secure.
- Measure and Cut Boards: Measure and cut your Trex composite boards to fit your deck layout. Use a circular saw for precise cuts.
- Attach Boards: Start from one corner and work your way across, attaching each board with hidden fasteners or screws. Ensure each board is level and properly aligned.
- Finish Edges: Trim and finish edges with trim boards or fascia panels to give your deck a clean, finished look.
Tips for Achieving a Professional Finish
- Plan Ahead: Take accurate measurements and plan your layout before cutting any boards.
- Use Proper Fasteners: Always use Trex-specific fasteners to avoid damaging the composite material.
- Maintain Consistent Spacing: Keep board spacing consistent to ensure an even appearance.
- Regular Maintenance: While Trex composite decking requires minimal maintenance, regular cleaning and inspections will help extend its lifespan.
Conclusion
Installing Trex composite decking can transform your outdoor space into a beautiful and functional area. With the right tools, materials, and attention to detail, you can achieve a professional finish that will last for years. Visit Home Depot Canada for all the materials you need to get started on your project today.
References
For more detailed information on Trex composite decking installation, refer to the official Trex installation guide available on their website: Trex Installation Guide.
“`

