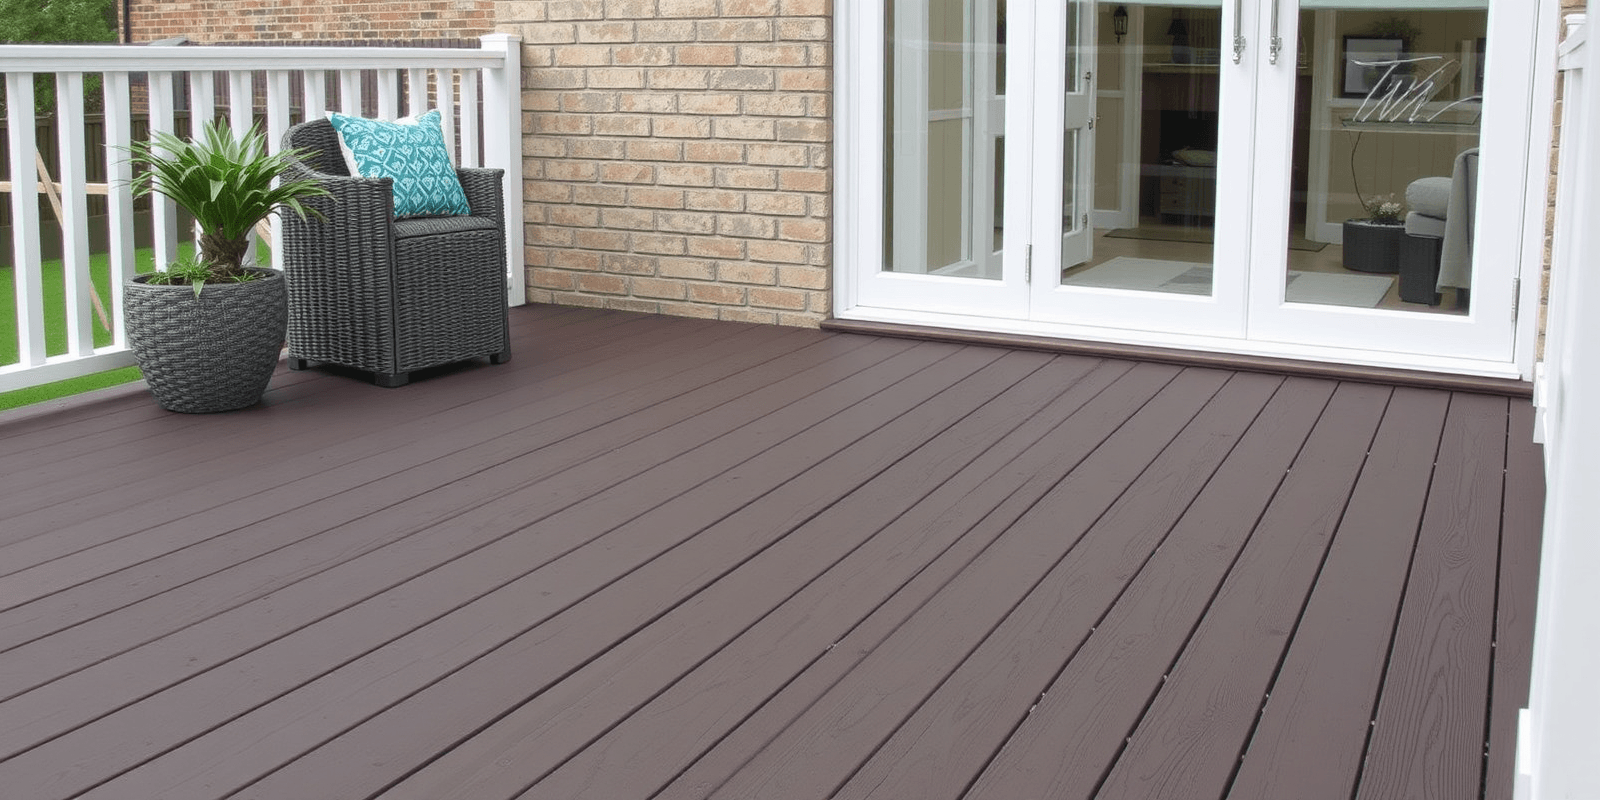
“`html
Installation Guide for TREX Composite Decking in the UK
Introduction
TREX composite decking has become increasingly popular in the UK due to its durability, low maintenance, and eco-friendly nature. Installing TREX composite decking requires careful planning and adherence to specific guidelines to ensure a successful outcome. This comprehensive guide will walk you through the process of installing TREX composite decking, covering everything from material selection to site preparation and safety measures.
Choosing the Correct Materials
Before starting your project, it’s crucial to choose the right materials. TREX offers various product lines, including Transcend, Enhance, and Select series. Each line has distinct features and benefits. For instance, Transcend is known for its high durability and resistance to stains, while Enhance is more budget-friendly with a focus on aesthetics. Ensure that you select the appropriate TREX product based on your project requirements and budget constraints.
Preparing the Site
Proper site preparation is essential for a smooth installation process. Begin by clearing the area where the deck will be installed. Remove any debris, vegetation, or existing structures. Level the ground using a laser level or a transit level to ensure a stable foundation. Next, lay down a layer of crushed stone or gravel as a base, which helps with drainage and prevents weed growth. Finally, install perimeter footings and joists according to the manufacturer’s specifications.
Safety Guidelines During Installation
Installing composite decking involves several safety precautions. Always wear protective gear such as gloves, goggles, and steel-toed boots. Use proper lifting techniques to avoid strain injuries. When working at heights, ensure that scaffolding or ladders are securely placed and follow all recommended safety protocols. Additionally, keep the work area clean and free of tripping hazards to prevent accidents.
Installation Process
The installation process begins with laying out the decking boards. Start from one end of the deck and work your way towards the other, ensuring that the boards are straight and aligned properly. Use screws instead of nails to attach the decking boards to the joists, as this provides better stability and reduces the risk of the boards splitting. Leave a small gap between each board to allow for expansion and contraction due to temperature changes.
Finishing Touches
Once the decking boards are installed, consider adding finishing touches such as railings, balusters, and trim pieces. These elements not only enhance the aesthetic appeal of your deck but also provide additional safety features. Finally, inspect the entire structure for any loose screws or uneven boards and make necessary adjustments.
“`


