“`html
Installation Tips for Trim Boards on Composite Decks
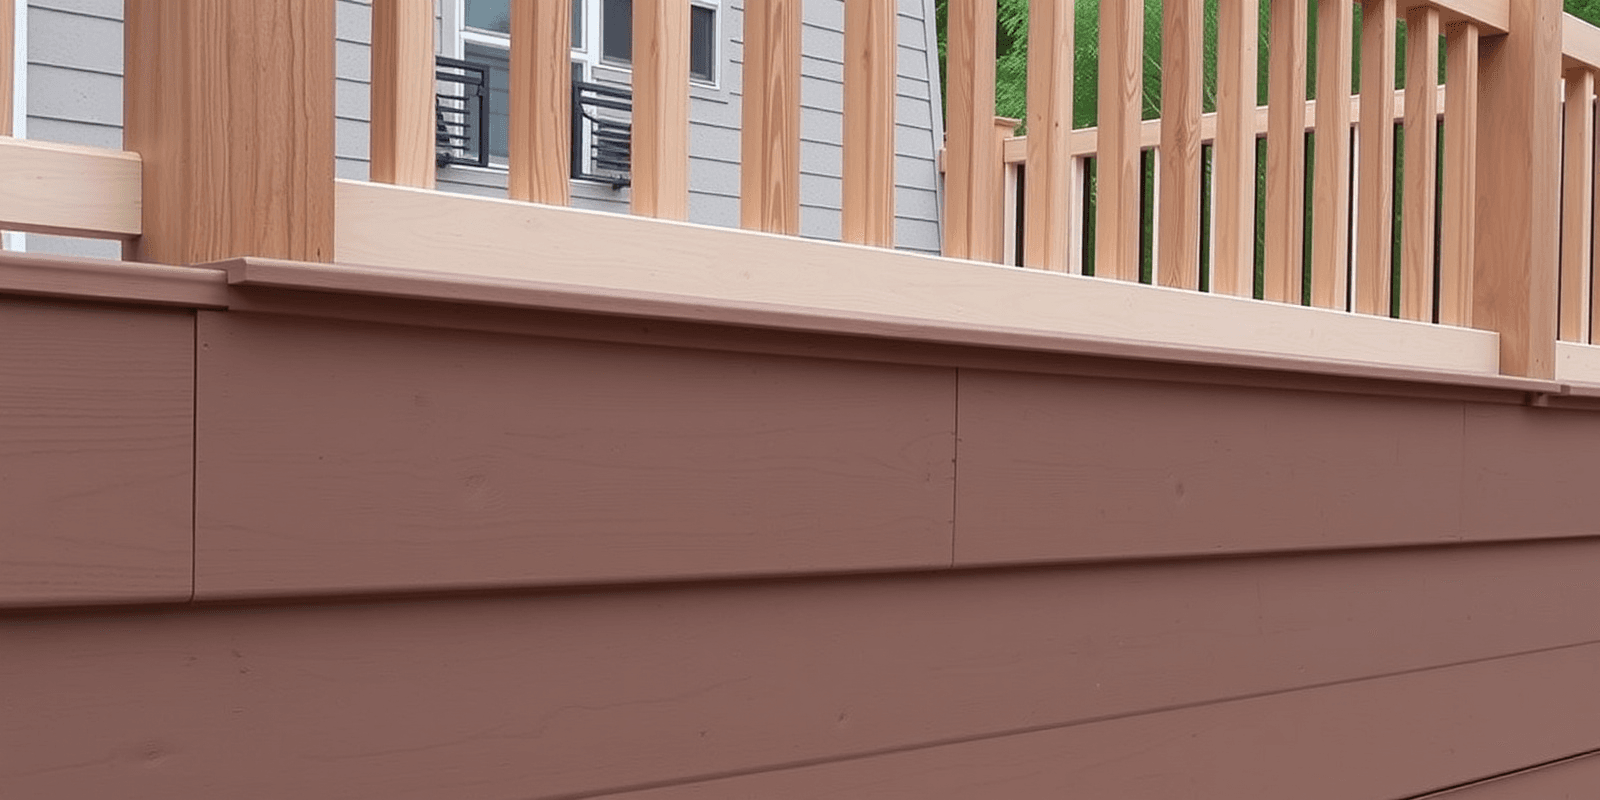
Adding trim boards to your composite deck can significantly enhance its aesthetic appeal, creating a clean and finished look. However, achieving this polished appearance requires precision and care during installation. In this guide, we’ll walk you through the process of installing trim boards on composite decks, covering step-by-step instructions, recommended tools, and common pitfalls to avoid.
Understanding Trim Boards for Composite Decking
Trim boards are the finishing touch that gives your composite deck a professional and elegant look. They cover the edges and gaps between the decking boards, providing a seamless transition from the deck surface to the surrounding landscape. When selecting trim boards for composite decking, consider materials that match or complement your deck’s color and texture. Popular choices include PVC, wood-plastic composites, and cellular PVC, each offering unique benefits in terms of durability and maintenance.
Step-by-Step Guide to Installing Trim Boards
Preparation and Tools Needed
To start, gather all necessary tools and materials. You’ll need:
- Trim boards
- Screws or nails (stainless steel or coated)
- Drill with screwdriver bits
- Jigsaw or circular saw
- Measuring tape
- Level
- Clamps
- Construction adhesive
Cutting and Fitting the Trim Boards
Measure the perimeter of your deck carefully, accounting for any corners or angles. Cut the trim boards to length using a jigsaw or circular saw, ensuring precise cuts for a snug fit. Use a level to check that each board is perfectly horizontal as you install it. Apply construction adhesive along the back of each board before securing it with screws or nails. This will provide additional stability and prevent the boards from moving over time.
Finishing Touches and Common Pitfalls
Once all trim boards are installed, inspect your work for any gaps or uneven areas. Use a putty knife to fill in any small gaps with caulk or wood filler, then sand the filled areas smooth. Finally, apply a coat of sealant to protect the trim boards from weather damage and ensure they maintain their appearance over time.
Common pitfalls to avoid include:
- Improper measurement: Take multiple measurements to ensure accuracy.
- Inconsistent spacing: Use clamps to hold boards in place while attaching them.
- Over-tightening screws: This can cause the trim boards to warp or split.
Conclusion
Installing trim boards on composite decks is a rewarding task that adds value and beauty to your outdoor space. By following these steps and taking precautions against common mistakes, you can achieve a professional-looking finish that stands the test of time. Remember, attention to detail and proper tool usage are key to a successful installation. Happy building!
References
For more detailed information on composite deck installation, visit The Deck Inspector and Family Handyman.
“`

