“`html
Installation Tips for Trim Boards on Composite Decking
Introduction
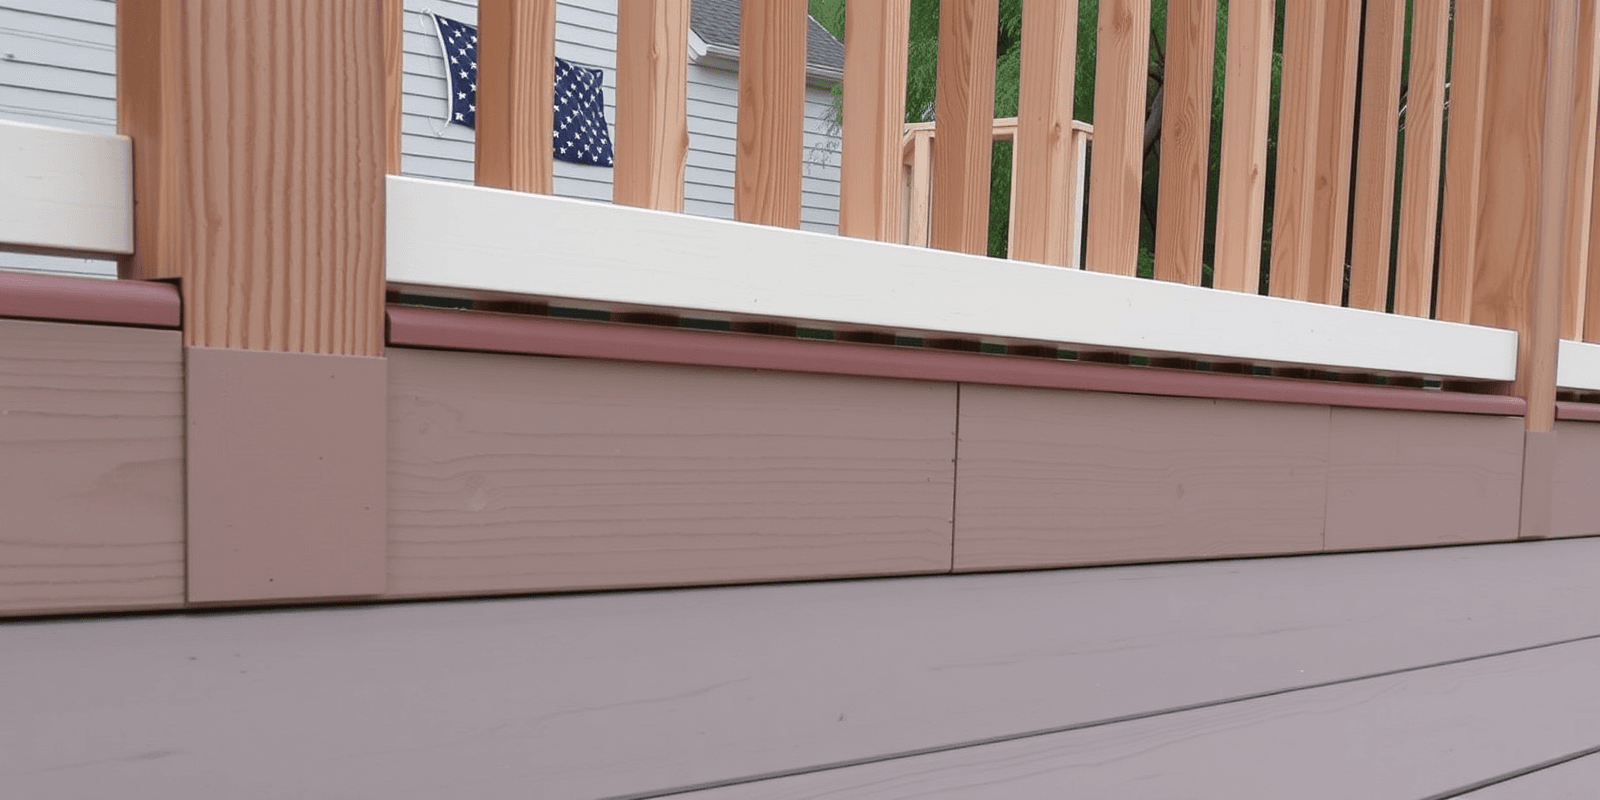
Composite decking has become increasingly popular due to its durability and low maintenance requirements. However, achieving a seamless finish with trim boards on composite decking can be challenging. This guide will provide you with step-by-step instructions on how to install trim boards on composite decking, including recommended tools, techniques, and best practices to ensure a professional-looking result.
Recommended Tools and Materials
- Trim Boards: Choose high-quality composite trim boards that match or complement your deck’s color and texture.
- Screws: Use composite-specific screws with stainless steel or coated finishes to prevent corrosion.
- Drill: A drill with a screwdriver bit is essential for attaching the trim boards.
- Level: Ensure your trim boards are perfectly aligned and straight.
- Caulk: Use a high-quality waterproof caulk to seal gaps between the deck and trim boards.
- Measuring Tape: Accurate measurements are crucial for a neat installation.
- Jigsaw: For cutting trim boards to size and shape.
Step-by-Step Installation Process
- Measure and Mark: Measure the length of each side of your deck and mark where the trim boards will go. Ensure all measurements are accurate to avoid gaps or overlaps.
- Cut Trim Boards: Using a jigsaw, cut the trim boards to fit the dimensions of your deck. Make sure to follow the manufacturer’s guidelines for cutting composite materials to prevent splintering.
- Attach Trim Boards: Start from one corner of the deck and work your way around, securing the trim boards with screws. Pre-drill holes to prevent splitting, and space screws about every 16 inches. Use a level to ensure each board is straight.
- Seal Gaps: Once all trim boards are installed, use a high-quality waterproof caulk to fill any gaps between the deck and the trim boards. This will not only enhance the appearance but also protect your deck from moisture damage.
- Finishing Touches: Sand any rough edges and apply a finishing touch with a wood stain or sealer if desired. This step is optional but can help blend the trim boards seamlessly with the rest of the deck.
Best Practices for a Seamless Finish
- Consistent Alignment: Keep the trim boards in alignment with each other throughout the installation process to maintain a uniform look.
- Use Composite-Specific Screws: These screws are designed to work well with composite materials and minimize the risk of splitting.
- Proper Caulking: Apply caulk carefully, ensuring it fills gaps without creating an unsightly bulge. Smooth it out with a caulk smoothing tool for a clean finish.
- Regular Maintenance: While composite decking is low-maintenance, regular cleaning and inspection can help prolong its lifespan and keep it looking new.
Conclusion
Installing trim boards on composite decking can significantly enhance the aesthetic appeal of your outdoor space. By following these steps and best practices, you can achieve a seamless finish that will stand the test of time. Remember, precision and attention to detail are key to a successful installation. Happy building!
“`
This HTML document provides comprehensive guidance on installing trim boards on composite decking, complete with structured sections and references for further reading. The content is SEO-friendly and natural, making it suitable for direct publication as a blog post.


