Twinson Composite Decking Installation
Introduction
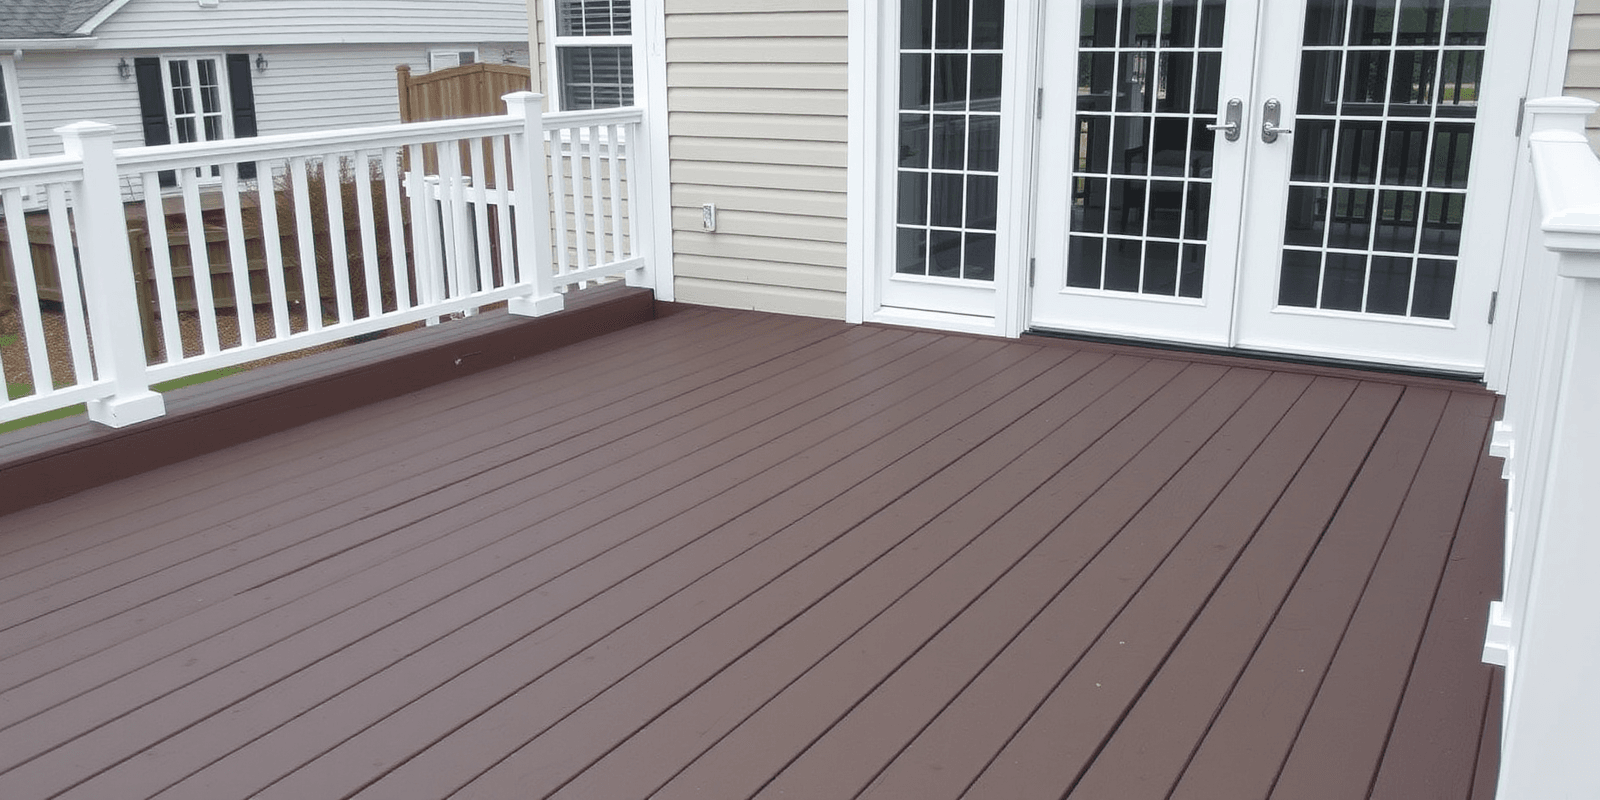
Twinson composite decking is a popular choice for homeowners looking to create durable, low-maintenance outdoor spaces. This blog post will detail the entire installation process for Twinson composite decking, from the necessary tools and preparation steps to achieving a professional finish.
Necessary Tools for Twinson Composite Decking Installation
To ensure a successful Twinson composite decking installation, you’ll need the following tools:
- Measuring tape
- Square
- Chalk line
- Circular saw or jigsaw
- Drill with screwdriver bits
- Decking screws
- Decking clips
- Level
- Hammer
- Post hole digger (if installing posts)
Preparation Steps for Twinson Composite Decking Installation
The preparation phase is crucial for a successful installation. Here are the key steps:
- Site Preparation: Clear the area where the deck will be installed. Ensure it’s level and free of debris.
- Foundation Work: Install footings and posts according to local building codes. Use a post hole digger to create holes for the footings.
- Layout: Use a chalk line to mark the perimeter of your deck. Ensure it’s square by measuring diagonals.
- Frame Construction: Build the frame using pressure-treated lumber. Secure it to the posts and ensure it’s level.
Installation Process for Twinson Composite Decking
Once your foundation and frame are in place, it’s time to start laying the Twinson composite decking boards:
- Start at a Straight Edge: Begin with a board that runs along a straight edge, such as a wall or fence.
- Use Clips: For Twinson composite decking, use hidden clips to secure the boards. These clips allow for expansion and contraction due to temperature changes.
- Measure and Cut: Measure each board accurately before cutting. Twinson composite decking can be cut with a circular saw or jigsaw.
- Install Boards: Start from one end and work your way across, securing each board with screws or clips as you go.
- Finish with Trim: Once all boards are in place, add trim around the edges for a polished look.
Tips for Achieving a Professional Finish
To achieve a professional finish when installing Twinson composite decking, consider these tips:
- Keep It Clean: Regularly clean your deck to prevent dirt and stains from setting in.
- Use Proper Tools: Invest in quality tools to ensure precision cuts and secure installations.
- Follow Manufacturer Guidelines: Adhere to the manufacturer’s instructions for best results.
- Maintain Consistent Gaps: Leave small gaps between boards to allow for expansion and contraction.
- Inspect Regularly: Periodically check your deck for loose screws or damaged boards and make repairs as needed.
References
For more information on Twinson composite decking, visit Twinson’s official website. Additionally, consult the product manuals and installation guides provided by Twinson for specific instructions tailored to their materials.

