The Ultimate Guide to Fiberon Composite Decking Installation
Introduction
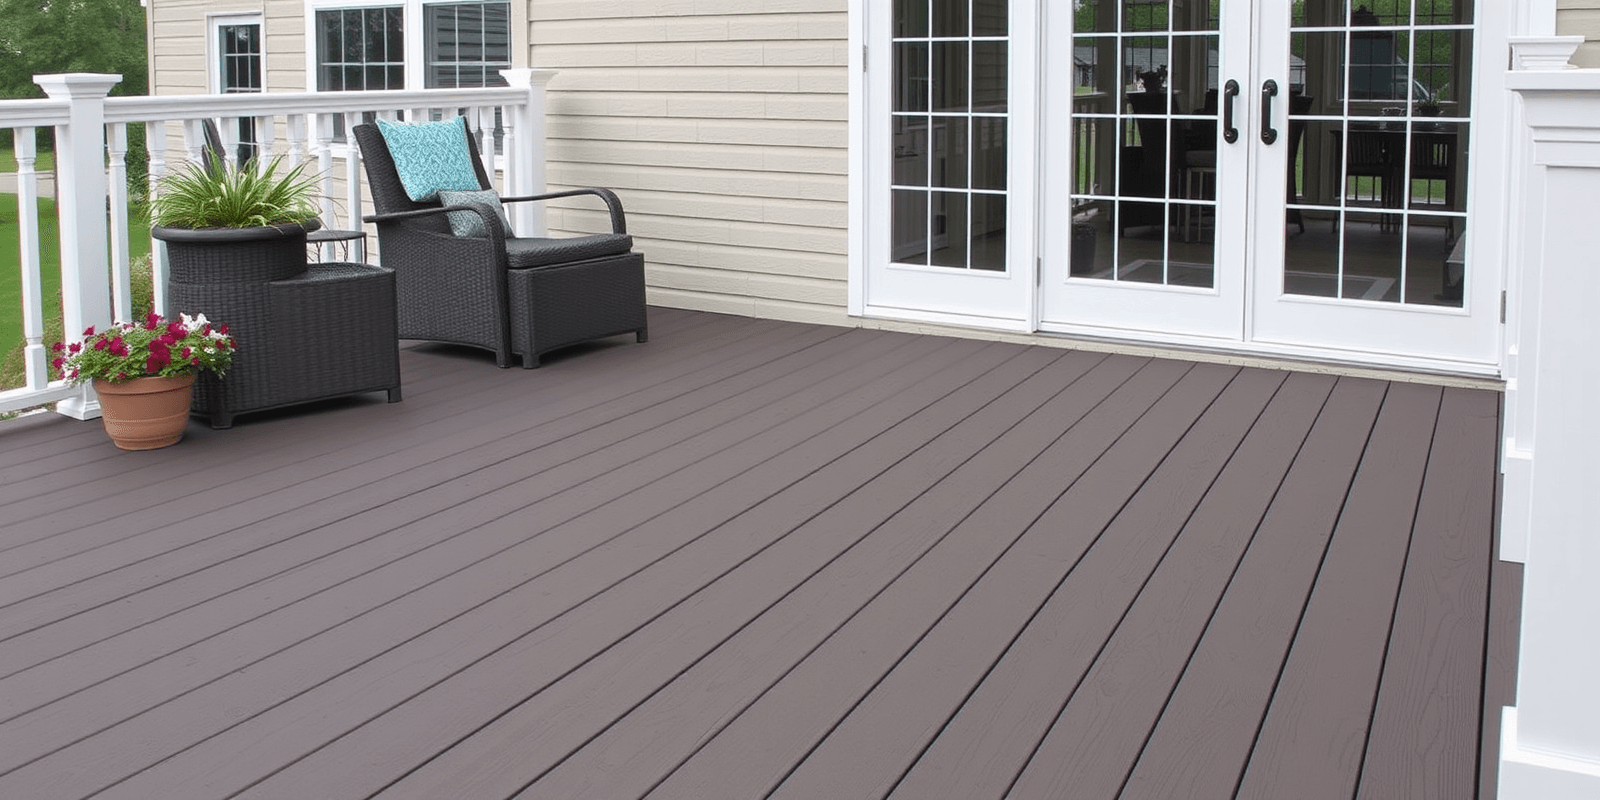
Fiberon composite decking is a popular choice for homeowners looking to build or renovate their outdoor living spaces. This guide will walk you through the entire process of installing Fiberon composite decking, from gathering the necessary tools to ensuring a smooth and professional-looking outcome. By following these steps and best practices, you can achieve a durable, low-maintenance deck that will enhance your home’s appeal for years to come.
Tools and Materials Needed
To install Fiberon composite decking, you’ll need the following tools and materials:
- Measuring tape: For accurate measurements of your deck space.
- Square: To ensure precise angles and straight lines.
- Power drill: Essential for driving screws and creating pilot holes.
- Screw gun: For attaching the decking boards to the frame.
- Jigsaw: Useful for cutting curves or intricate shapes in the composite material.
- Level: To make sure the deck is even and safe.
- Composite deck screws: Specifically designed for composite materials.
- Composite deck boards: Choose from a variety of colors and textures offered by Fiberon.
- Decking clips: Used to secure the decking boards without visible screws.
Safety Precautions
Before beginning any construction project, it’s crucial to prioritize safety. Here are some essential precautions to follow:
- Wear protective gear: Always wear gloves, safety glasses, and sturdy work boots.
- Maintain a clean workspace: Clear away debris and tripping hazards.
- Use caution with power tools: Read manuals and understand how to use each tool safely.
- Work with a partner: When lifting heavy materials, have someone help you.
- Inspect all equipment: Before starting, check that all tools are in good working order.
Installation Process
Step 1: Planning and Preparation
Begin by measuring your deck area accurately. Use the square and level to mark out the dimensions and ensure everything is perfectly aligned. Consult Fiberon’s installation guidelines for specific recommendations on spacing and framing requirements. This step is critical as it sets the foundation for the rest of the project.
Step 2: Building the Frame
Construct a sturdy frame using pressure-treated lumber. Ensure that the frame is level and square. Attach the ledger board to the house, and install the rim joists and interior joists according to the manufacturer’s specifications. This creates a solid base for your composite decking.
Step 3: Installing the Joist System
Install the joist system, which includes the rim joists, interior joists, and any additional support beams. Make sure that the joists are evenly spaced and securely fastened. Proper spacing is key to supporting the weight of the composite decking and preventing sagging over time.
Step 4: Installing the Decking Boards
Start laying the composite decking boards, beginning at one end of the deck and working towards the other. Use decking clips to attach the boards to the joists, ensuring they are snug but not overly tight. Leave a small gap between each board to allow for expansion and contraction due to temperature changes. Fiberon recommends using their proprietary FastenMaster LedgerLok screws for optimal performance.
Step 5: Finishing Touches
After all the decking boards are installed, trim any excess material with a jigsaw or circular saw. Install fascia boards along the edges of the deck for a polished look. Finally, seal or stain the deck according to Fiberon’s recommendations to protect against weathering and UV damage.
Best Practices
To ensure a successful installation, adhere to these best practices:
- Follow manufacturer instructions: Each product may have unique installation requirements.
- Allow proper curing time: Wait until the composite material has fully cured before applying any finishes.
- Regular maintenance: Keep your deck clean and free from debris to extend its lifespan.
- Inspect regularly: Check for loose screws or damaged boards and address issues promptly.

