DIY Guide: Installing a Composite Decking Handrail
Introduction
Composite decking is an increasingly popular choice for homeowners due to its durability, low maintenance, and aesthetic appeal. One key component that can enhance both the functionality and appearance of your composite deck is a well-installed handrail. This guide will walk you through the process of installing a composite decking handrail, from gathering the necessary tools to achieving a secure and aesthetically pleasing finish.
Tools Needed
To install a composite decking handrail, you will need the following tools:
- Measuring Tape: Essential for ensuring accurate measurements.
- Power Drill: Used for drilling pilot holes and driving screws.
- Screwdriver Bits: Compatible with your drill for various screw types.
- Level: Ensures that the handrail is straight and properly aligned.
- Composite Decking Screws: Specialized screws designed for composite materials.
- Hole Saw: For creating holes for balusters or posts.
- Clamps: Useful for holding components in place while securing them.
- Utility Knife: For cutting composite materials and trimming excess.
Step-by-Step Instructions
Preparation and Planning
Before beginning the installation, ensure that your composite decking handrail kit includes all necessary components, such as rail posts, top rails, bottom rails, and balusters (if applicable). Measure the length of your deck and plan the placement of the handrail components. Ensure that the handrail will be at a comfortable height and accessible for all users.
Installing Rail Posts
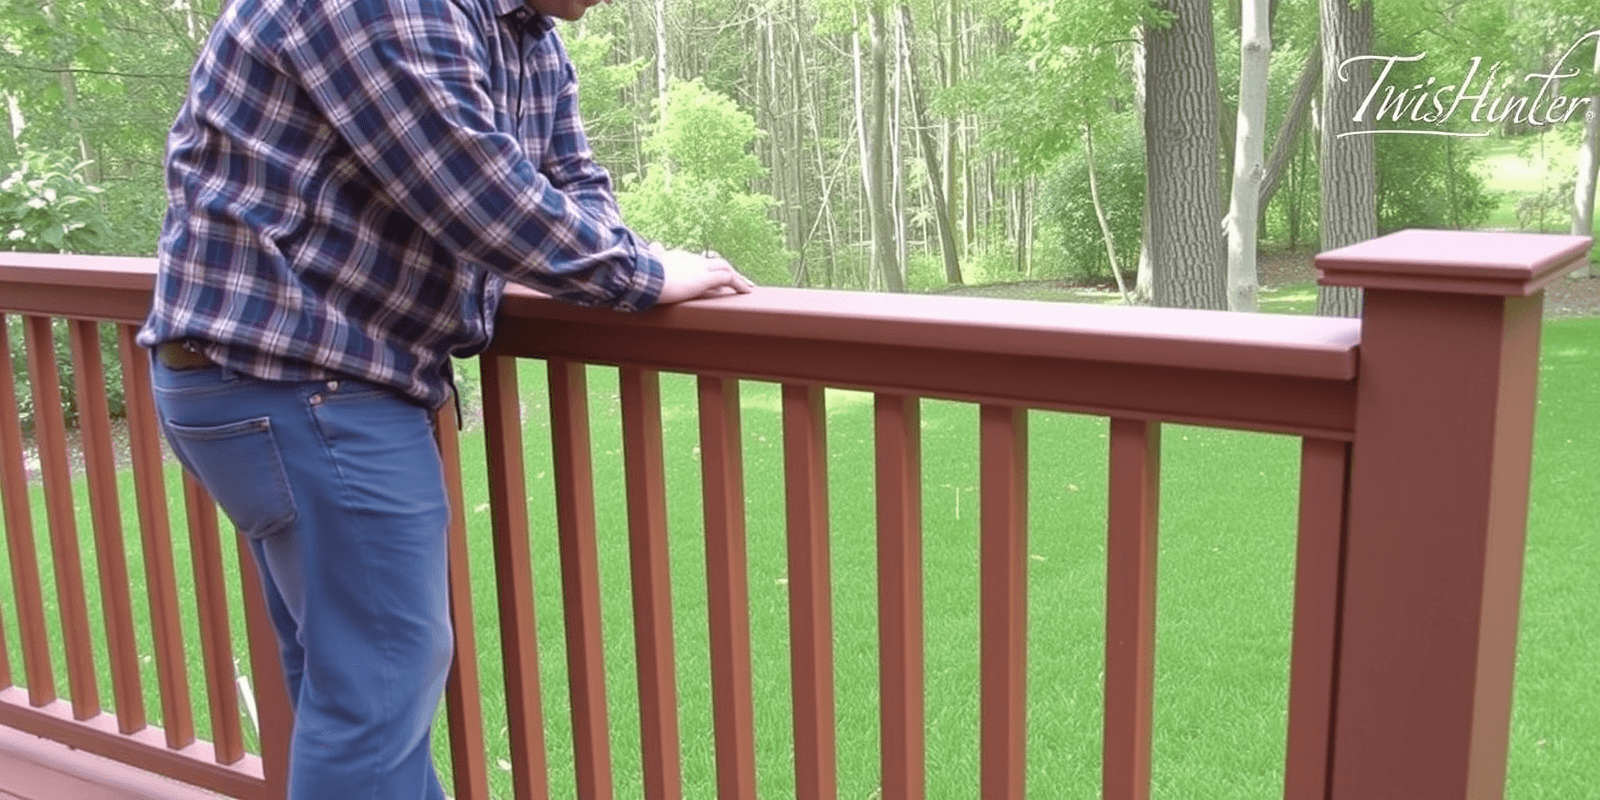
Begin by installing the rail posts at each end of the deck. Use a level to ensure they are perfectly vertical. Mark the locations where the posts will sit, then drill pilot holes into the deck boards. Insert the posts and secure them using composite decking screws. Make sure the posts are snugly fitted and aligned correctly.
Attaching Top and Bottom Rails
Once the posts are securely installed, attach the top and bottom rails. Start with the top rail, aligning it with the top of the posts. Use a level to ensure the rail is horizontal. Drill pilot holes and drive screws into the posts, spacing them evenly according to the manufacturer’s recommendations. Repeat this process for the bottom rail, attaching it to the underside of the top rail or directly to the deck boards if preferred.
Adding Balusters
If your design requires balusters, use a hole saw to create holes in the top and bottom rails at regular intervals. Insert the balusters into these holes, ensuring they are plumb and evenly spaced. Secure the balusters using composite decking screws, making sure not to over-tighten, which could cause splitting.
Finishing Touches
Trim any excess material with a utility knife, and inspect the entire installation for any gaps or uneven areas. Apply a sealant or finish to match your deck if desired, but check the manufacturer’s guidelines first to avoid damaging the composite material.
Tips for a Secure and Aesthetically Pleasing Installation
- Use Pilot Holes: Always pre-drill holes when working with composite materials to prevent splitting.
- Check Alignment: Regularly use a level to ensure everything is straight and true.
- Proper Spacing: Follow the manufacturer’s guidelines for spacing between balusters and rail components.
- Secure Fittings: Ensure all fittings are tight and secure to prevent wobbling or movement over time.
Reference Materials
For more detailed information on composite decking and handrail installation, refer to the following resources:
Deckorators: Provides comprehensive guides and tips on composite decking installation.
Family Handyman: Offers step-by-step instructions and troubleshooting tips for installing a deck railing.


