Installation Tips for White Ash Composite Decking
Introduction
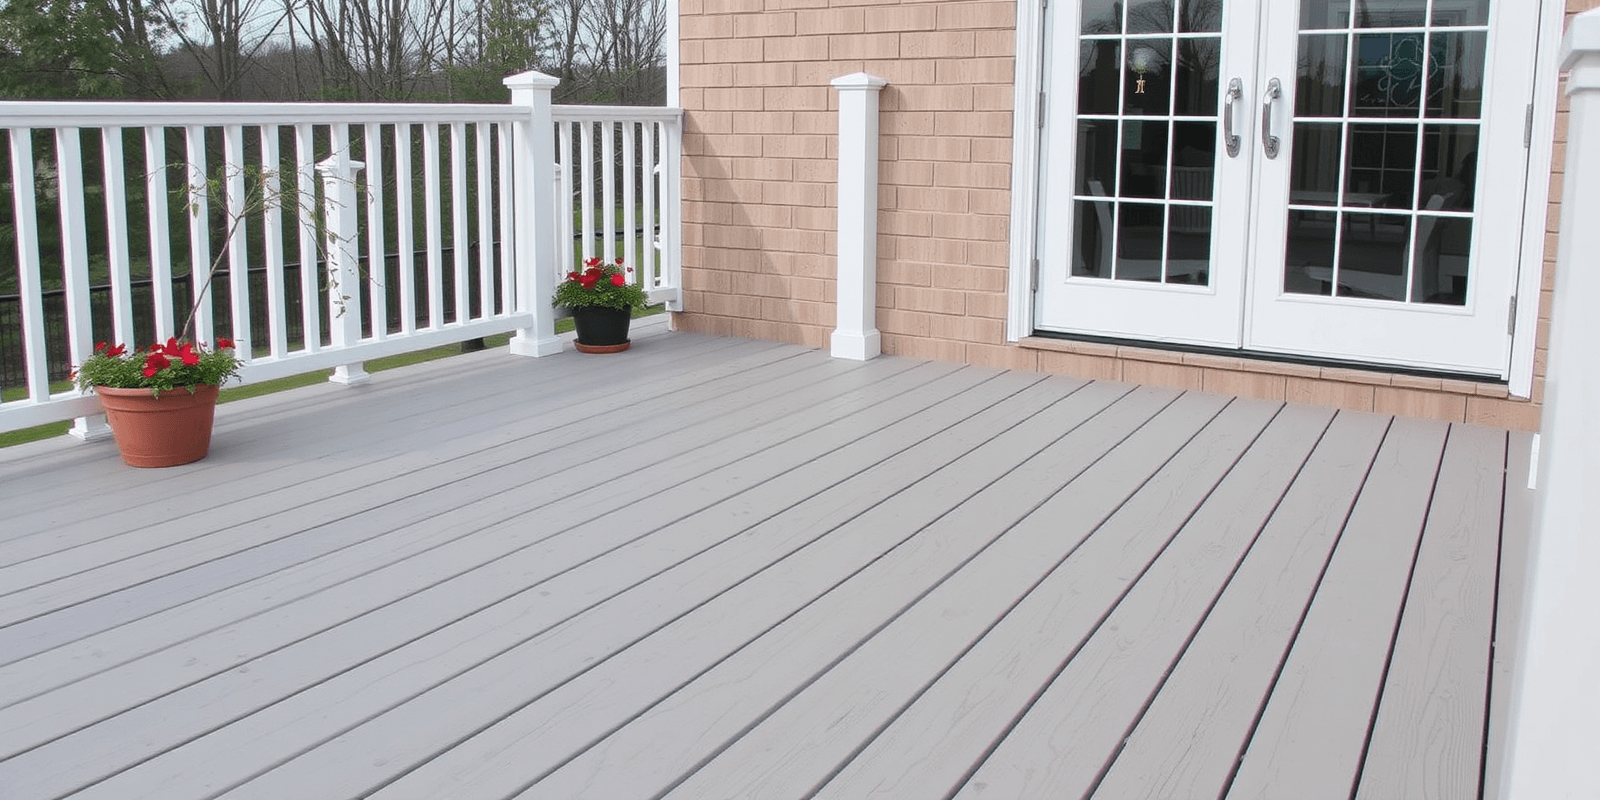
White ash composite decking is a popular choice for homeowners looking for durability, low maintenance, and an elegant appearance. This material combines the natural beauty of wood with the strength and longevity of composite materials. Proper installation is crucial to ensure that your deck not only looks great but also stands the test of time. In this guide, we will walk you through the installation process, highlighting essential tools and techniques to achieve a successful outcome.
Essential Tools for Installation
To install white ash composite decking effectively, you’ll need the following tools:
- Saws: A circular saw or a miter saw is essential for cutting the composite boards to size. Ensure the blade is designed for cutting composite materials to avoid damaging the boards.
- Drills: A drill with various bits will be necessary for attaching the decking boards to the joists. A countersink bit can help create a clean, professional finish.
- Fasteners: Composite-specific screws are recommended for secure attachment. These screws are designed to resist corrosion and provide a strong hold without compromising the integrity of the composite material.
- Measuring Tape: Accurate measurements are vital for precise cuts and proper spacing.
- Level: Ensuring your deck is level is critical for both aesthetics and functionality.
- Decking Spacer: Maintaining consistent gaps between boards is key to proper drainage and expansion.
Proper Spacing and Drainage
One of the most important aspects of installing white ash composite decking is ensuring proper spacing and drainage. Gaps between the decking boards allow water to drain effectively, preventing moisture buildup that could lead to warping, rotting, or mold growth. Typically, a gap of about 1/8 inch (3mm) is sufficient. This space also accommodates the natural expansion and contraction of the composite material due to temperature changes.
Additionally, it’s crucial to maintain a slight slope across the entire deck surface to facilitate water runoff. A general rule is to have a 1/4 inch drop per foot of decking length. This ensures that water drains efficiently away from the deck, reducing the risk of water damage over time.
Step-by-Step Installation Guide
- Prepare the Site: Clear the area where the deck will be installed. Ensure the ground is level and stable. If necessary, pour concrete footings to support the deck structure.
- Frame Construction: Build the frame using pressure-treated lumber, ensuring it is square and level. Attach the ledger board securely to the house wall if applicable.
- Lay Out Joists: Position the joists according to your design, spaced at regular intervals (typically 16 inches on center). Secure them to the frame using appropriate fasteners.
- Cut Composite Boards: Measure and cut the composite decking boards to fit the layout. Use a circular saw with a blade designed for composite materials.
- Install the First Board: Start at one end of the deck, attaching the first board to the outer edge of the frame. Use composite-specific screws, spacing them evenly along the board.
- Maintain Spacing: Use spacers between boards to ensure consistent gaps. Remove the spacers as you work your way down the deck.
- Secure Remaining Boards: Continue attaching boards, working from the outer edge towards the center. Ensure each board is flush with the previous one and properly secured.
- Final Touches: Once all boards are in place, inspect the deck for any gaps or uneven areas. Make adjustments as needed.
Conclusion
Installing white ash composite decking requires careful attention to detail and adherence to best practices. By using the right tools, maintaining proper spacing, and ensuring effective drainage, you can create a beautiful, durable, and long-lasting outdoor living space. With these tips and a thorough understanding of the installation process, your new deck will be a source of pride for years to come.

