“`html
Installation Tips for Wickes Composite Decking Screws
Welcome to our comprehensive guide on installing Wickes composite decking screws. These screws are designed specifically for composite decking materials, ensuring a secure and long-lasting finish to your outdoor space. Whether you’re a DIY enthusiast or a professional contractor, this guide will walk you through the necessary steps, tools, and troubleshooting tips to ensure a successful installation.
Tools Needed for Installation
To start with, here is a list of essential tools required for installing Wickes composite decking screws:
- Drill with variable speed control
- Screwdriver bit compatible with your drill
- Pilot hole drill bit
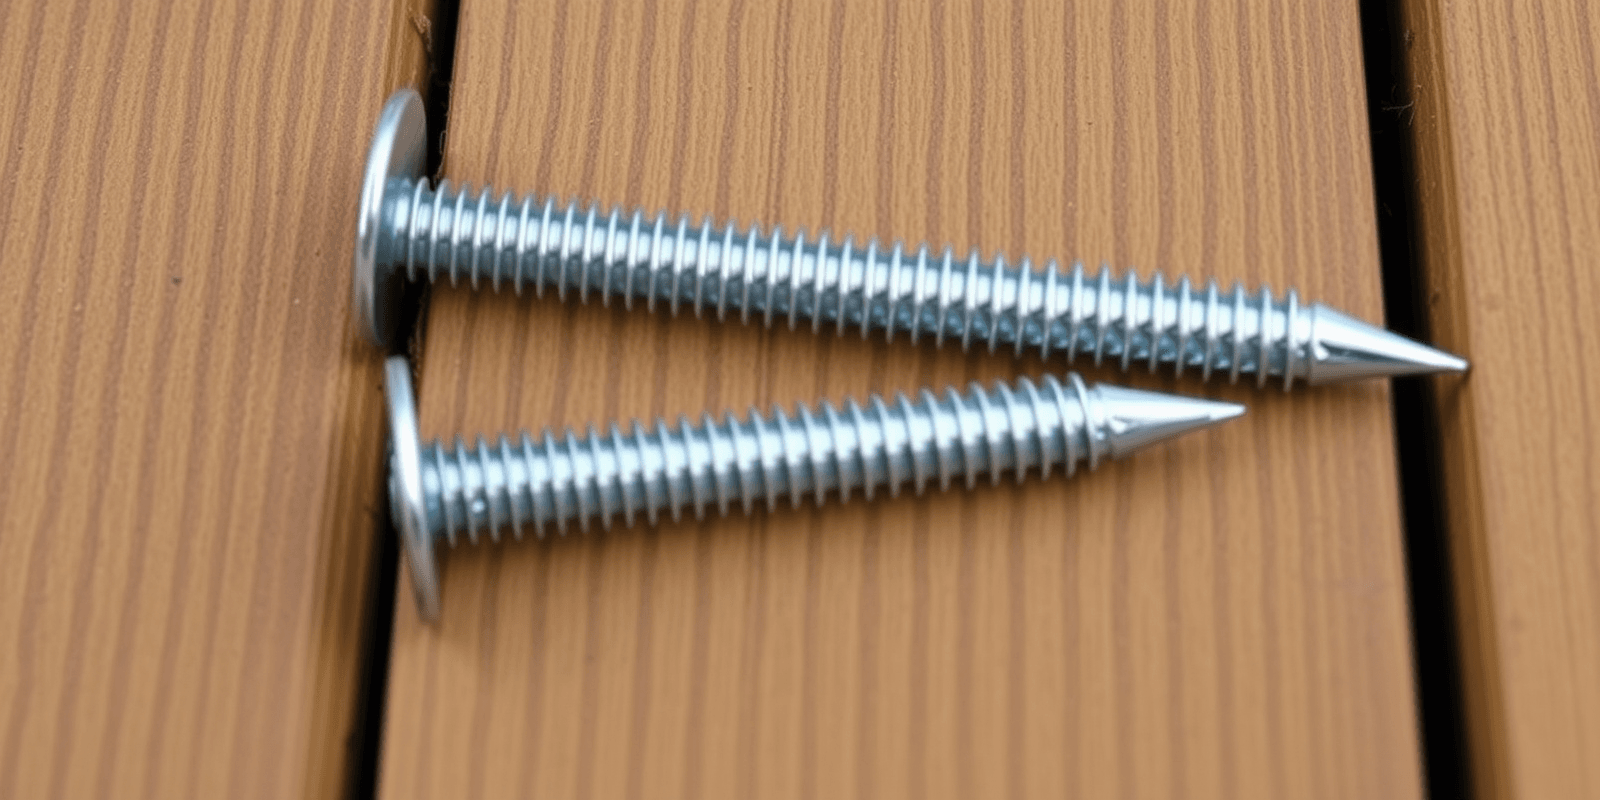
- Composite decking screws (Wickes brand)
- Tape measure
- Metal ruler or straight edge
- Marker pen
Step-by-Step Installation Guide
Step 1: Prepare Your Workspace
Ensure that your workspace is clean and free from debris. Lay out all your tools and materials within easy reach. This will help streamline the process and prevent any mishaps.
Step 2: Measure and Mark
Using your tape measure and metal ruler, mark the positions where you want to place your screws. It’s crucial to space them evenly to avoid warping or cracking of the composite material over time.
Step 3: Drill Pilot Holes
Before driving in the screws, it’s important to drill pilot holes. This prevents the composite material from splitting and ensures a tighter fit. Use a pilot hole drill bit slightly smaller than the diameter of your screws. Make sure the hole is deep enough to accommodate the screw but not so deep that it goes through the composite material.
Step 4: Drive in the Screws
With your drill set to a low speed, insert the screwdriver bit and begin driving the screws into the pre-drilled holes. Apply steady pressure to ensure the screw seats properly without stripping the head or damaging the composite surface.
Troubleshooting Common Issues
Issue: Composite Material Splitting
Solution: Ensure you have drilled the correct size pilot hole and that your drill speed is not too high. If the material still splits, consider using a screw with a wider shank or applying a small amount of wood glue to the screw threads before inserting them.
Issue: Screws Not Securing Properly
Solution: Check if the screw is the right length and type for your composite material. Sometimes, using a longer screw or a different type of screw can provide better holding power. Additionally, ensure that the pilot hole is appropriately sized for the screw being used.
Conclusion
Installing Wickes composite decking screws is a straightforward process when you follow these guidelines. By preparing your workspace, measuring accurately, drilling pilot holes, and securing the screws correctly, you can achieve a professional-looking deck that will last for years. Remember to troubleshoot any common issues promptly to avoid delays and ensure a smooth installation process.
References
For more detailed information on composite decking installation, visit Wickes. They offer extensive resources and guides that can further assist you in your project.
“`

