“`html
Wickes Composite Decking Installation Tips
Introduction
Welcome to this comprehensive guide on how to install composite decking from Wickes. Composite decking is an excellent choice for those looking for a low-maintenance, durable, and aesthetically pleasing outdoor living space. This article will provide you with valuable tips and best practices to ensure your installation process goes smoothly and your deck stands the test of time.
Material Selection
Choosing the right materials is crucial for a successful composite decking project. When selecting Wickes composite decking, consider the following:
- Color and Texture: Choose a color and texture that complements your home’s exterior and fits your aesthetic preferences. Wickes offers a variety of options to match different architectural styles.
- Quality and Durability: Look for high-quality composite materials that are resistant to fading, staining, and moisture. Wickes’ products are designed to withstand harsh weather conditions and require minimal maintenance.
- Sustainability: Opt for eco-friendly composite decking options if sustainability is a priority. Many Wickes products use recycled materials, reducing their environmental impact.
Site Preparation
Proper site preparation is essential for a stable and secure composite deck. Follow these steps to prepare your installation area:
- Clear the Area: Remove any debris, vegetation, or obstacles from the designated area where the deck will be installed.
- Level the Ground: Ensure the ground is level and stable by filling in low spots and removing high spots. Use a spirit level to check for evenness.
- Install Support Posts: Install support posts at regular intervals according to Wickes’ guidelines. Make sure they are securely anchored to the ground and level.
- Lay Out the Frame: Lay out the frame using pressure-treated lumber as the perimeter and support beams. Securely fasten the frame to the support posts.
Installation Process
Follow these steps to install your Wickes composite decking:
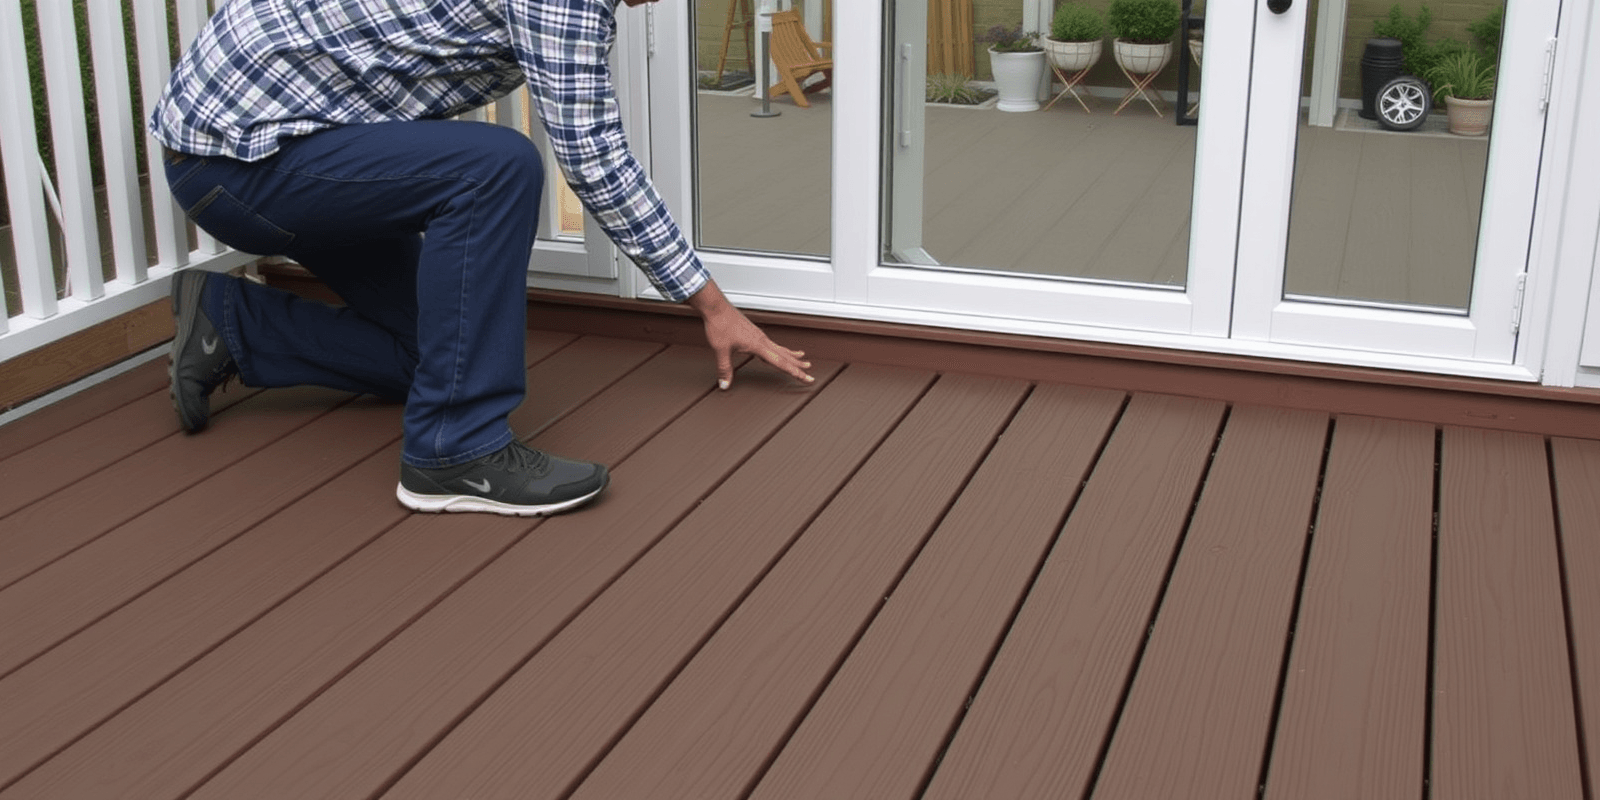
- Start with the Edges: Begin by installing the decking boards along the edges of the frame, leaving a small gap between each board to allow for expansion.
- Secure the Boards: Use screws or hidden fasteners to secure the boards to the frame. Avoid using nails, which can cause splitting and damage the composite material.
- Cut to Fit: Measure and cut the boards to fit around obstacles such as posts or corners. Use a circular saw with a fine-tooth blade for clean cuts.
- Finishing Touches: Add trim pieces around the edges for a polished look. Seal or stain the deck as needed to protect it from the elements.
Maintenance Tips
To ensure your Wickes composite deck remains beautiful and functional for years to come, follow these maintenance tips:
- Regular Cleaning: Sweep or rinse the deck periodically to remove dirt and debris. For tougher stains, use a mild detergent and water solution.
- Inspect Fasteners: Periodically check the screws or fasteners to ensure they are still tight and secure. Tighten any loose fasteners as needed.
- Check for Damage: Inspect the deck regularly for signs of wear, such as cracks or splinters. Address any issues promptly to prevent further damage.
- Protect from Chemicals: Avoid exposing the deck to chemicals or oils, as they can cause discoloration or degradation over time.
Conclusion
Installing a composite deck from Wickes is a rewarding project that enhances your outdoor living space. By carefully selecting the right materials, preparing the site properly, and following the installation process meticulously, you can create a beautiful and durable deck that will last for years. Remember to maintain your deck regularly to keep it looking its best.
“`

